Table of Contents
Tired of the same old sad desk lunches? Wish you had more time during the week? Let's be real, meal prepping can feel like a chore, but it doesn't have to. Enter the air fryer, your new best friend for quick, easy, and delicious chicken meal prep ideas. Forget dry, flavorless chicken; we're talking juicy, perfectly cooked chicken breasts ready to be the star of your healthy meals. This article will show you how to make the most of your air fryer, from cooking the chicken just right to transforming it into a variety of tasty dishes. We’ll cover the basics of air frying chicken, explore creative meal prep strategies, and offer tips on swaps and storage. By the end, you'll be a meal prep pro, armed with the knowledge to conquer your week, one delicious air-fried chicken breast at a time. Get ready to ditch the takeout and embrace the ease of air fryer chicken meal prep!
Why Air Fryer Chicken is a Meal Prep Game Changer

Why Air Fryer Chicken is a Meal Prep Game Changer
The Speed Factor
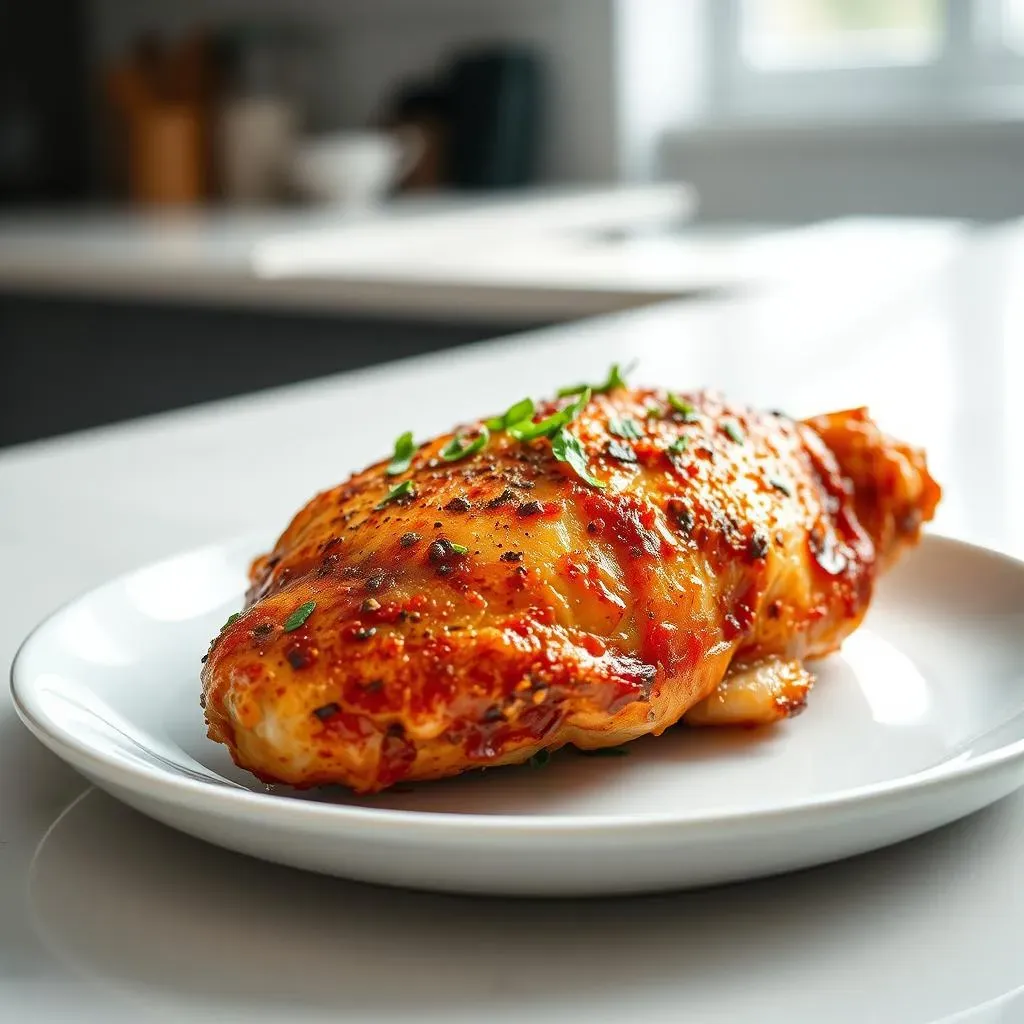
Okay, so you're staring down a mountain of meal prep, right? And chicken is usually in the mix. But who has time to babysit a pan on the stove or wait forever for the oven to heat up? This is where the air fryer swoops in like a superhero. It's ridiculously fast. Seriously, we’re talking about juicy chicken in 15 minutes or less. That's less time than it takes to watch an episode of your favorite show. It preheats faster than a regular oven, and it cooks chicken much quicker too. This speed means you can spend less time in the kitchen and more time, well, doing anything else! Plus, it’s a game changer for those of us who are always running late.
Healthier and Easier
Beyond the speed, air fryers are fantastic because you use way less oil than traditional cooking methods. That means fewer calories and less fat, without sacrificing flavor. The air fryer creates this awesome crispy texture on the outside while keeping the chicken super moist on the inside. No more dry, rubbery chicken! And let's not forget about the cleanup. Air fryer baskets are generally a breeze to wash, unlike a greasy pan. It’s less mess, less fuss, and a healthier way to cook chicken. I mean seriously, what’s not to love? It's a win-win for those of us trying to eat well and save time.
Benefit | Traditional Cooking | Air Fryer Cooking |
|---|---|---|
Cooking Time | 20-30 minutes | 10-15 minutes |
Oil Usage | Moderate to High | Minimal |
Cleanup | More effort | Easy |
Mastering the Air Fryer: Cooking Chicken Perfectly

Mastering the Air Fryer: Cooking Chicken Perfectly
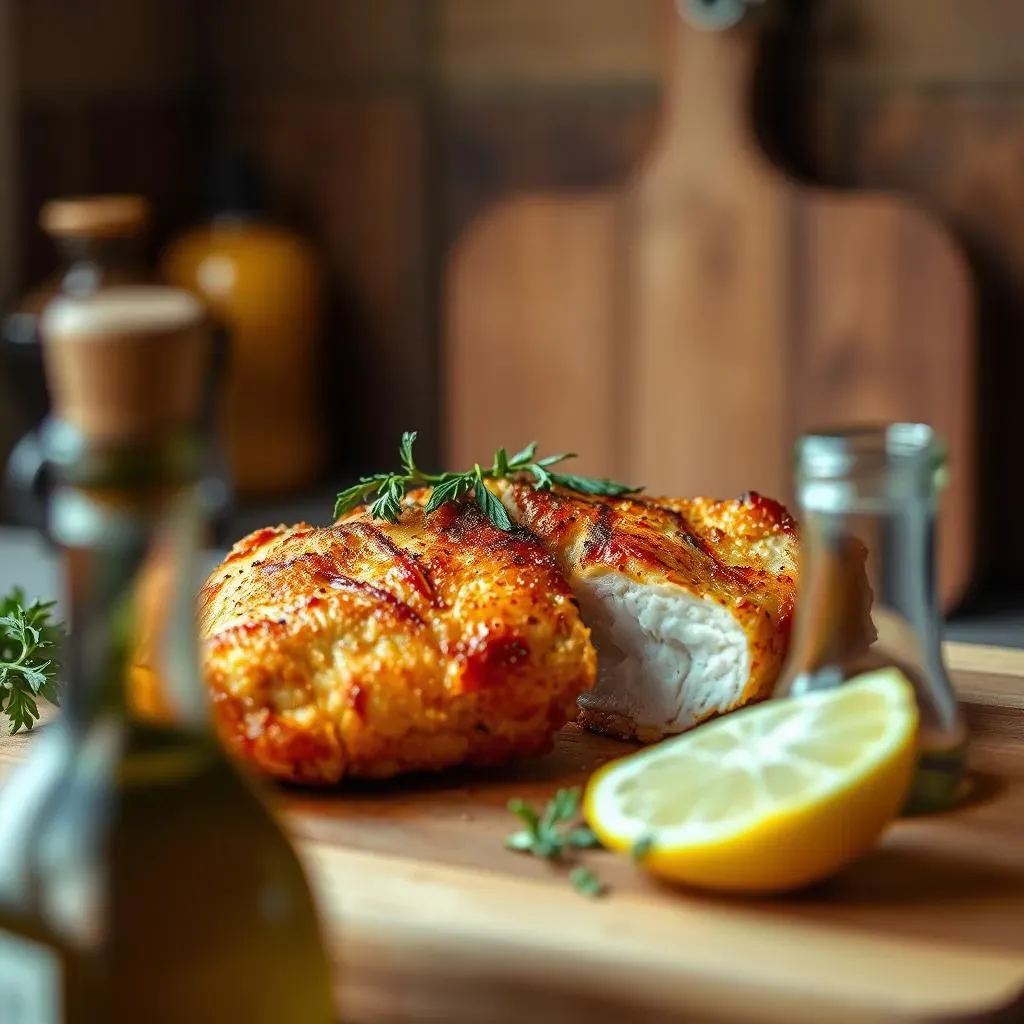
Alright, so you're sold on the speed and ease of air fryer chicken, but how do you actually get it right? It's not rocket science, but a few key steps make all the difference. First things first, let's talk about marinade. A simple mix of olive oil, your favorite seasonings, and a splash of lemon juice can do wonders. It keeps the chicken moist and adds a ton of flavor. I like to let my chicken marinate for at least 30 minutes, or even better, overnight in the fridge. Then, when it's time to cook, make sure you preheat your air fryer. This step is crucial for getting that nice, crispy exterior. Don't overcrowd the basket either; give each piece of chicken some space for the air to circulate. Trust me, it's worth it.
Now, for the cooking time, it really depends on the thickness of your chicken breasts. As a general rule, I cook mine at 400°F (200°C) for about 10-15 minutes. However, always check the internal temperature with a meat thermometer to make sure it reaches 165°F (74°C). This is super important for food safety! Nobody wants undercooked chicken. You also want to flip the chicken halfway through cooking to make sure it cooks evenly. After it’s done, let it rest for a few minutes before slicing. This helps keep the juices inside, making each bite extra tasty. I know it’s tempting to dig right in, but a little patience goes a long way. Seriously, these few steps are the difference between okay chicken and amazing chicken.
Step | Action | Why it Matters |
|---|---|---|
1 | Marinate Chicken | Adds flavor and keeps it moist |
2 | Preheat Air Fryer | Ensures crispy exterior |
3 | Don't Overcrowd | Allows for even cooking |
4 | Cook at 400°F (200°C) for 10-15 min | Cooks quickly and evenly |
5 | Check Internal Temp (165°F/74°C) | Ensures food safety |
6 | Let it Rest | Keeps it juicy |
Chicken Meal Prep Ideas: Beyond the Basics

Chicken Meal Prep Ideas: Beyond the Basics
Bento Box Bonanza
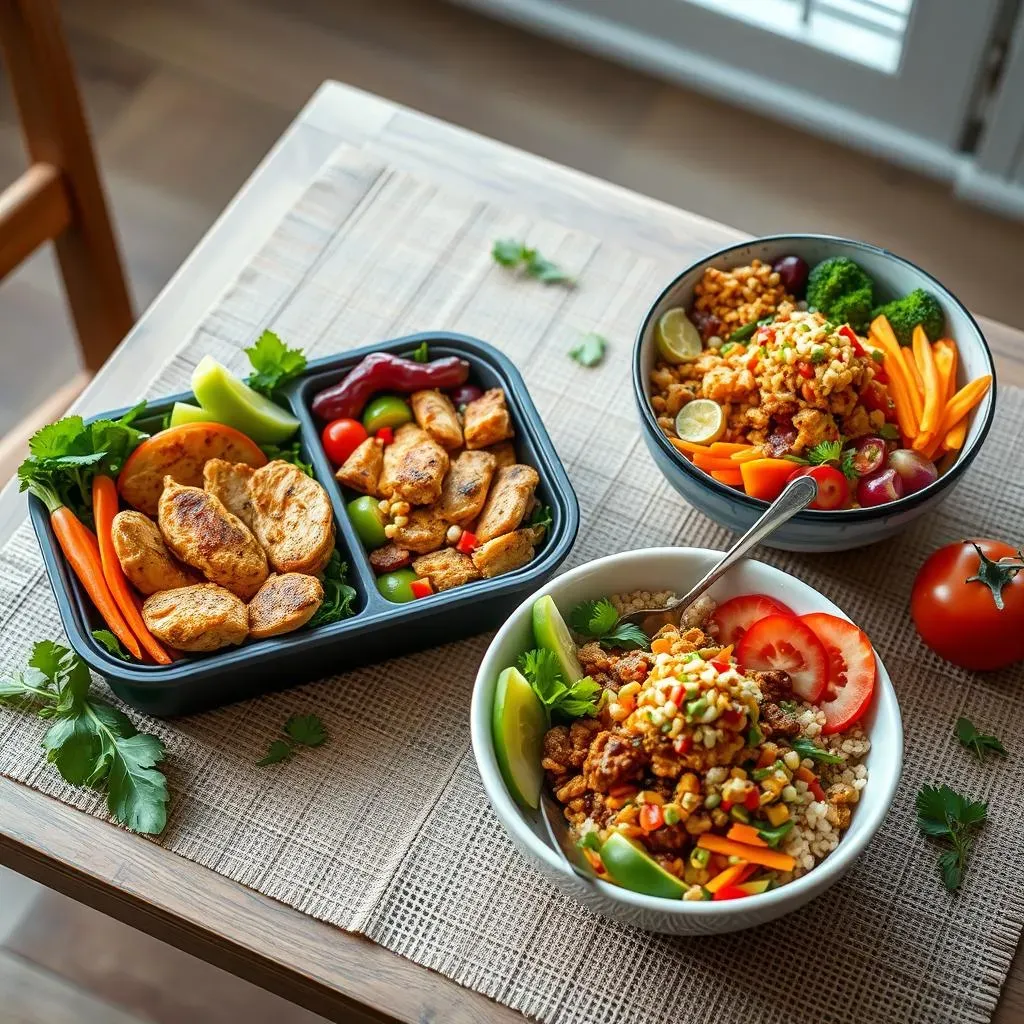
Okay, so you've got a pile of perfectly cooked air fryer chicken. Now what? Let's start with bento boxes. They’re not just for kids, you know! Think of them as your adult lunchables, but way healthier and more customizable. Grab a container with a few compartments, and start filling them up. Add your sliced air fryer chicken, some colorful veggies like bell peppers and cucumbers, a scoop of quinoa or rice, and maybe a little bit of hummus or a light dressing on the side. The beauty of bento boxes is that you can mix and match whatever you have on hand. It’s like a mini buffet in a box, and it keeps your lunch interesting all week long.
Protein Power Bowls
Next up, let's talk protein bowls. These are my go-to when I'm craving something hearty and satisfying. Start with a base of your favorite grain, like brown rice, quinoa, or even couscous. Then, load it up with your air fryer chicken, some roasted sweet potatoes or broccoli, a handful of spinach or kale, and a drizzle of your favorite sauce. Think about a Mediterranean twist with feta cheese, olives, and a lemon-herb dressing, or a southwest vibe with black beans, corn, and salsa. The possibilities are endless! Protein bowls are super versatile, and they’re a great way to get a balanced meal with plenty of nutrients and protein. Plus, they’re easy to pack and take on the go.
Meal Idea | Main Components | Flavor Profile |
|---|---|---|
Bento Box | Chicken, veggies, grain, dip | Customizable, fresh |
Protein Bowl | Chicken, grain, roasted veggies, sauce | Hearty, satisfying |
Burrito Bowl | Chicken, rice, beans, salsa, toppings | Spicy, flavorful |
Salad | Chicken, greens, veggies, dressing | Light, refreshing |
Burrito Bowls and Salad Sensations
Last but not least, let's explore burrito bowls and salads. Burrito bowls are a fun way to enjoy all the flavors of a burrito without the tortilla. Layer your air fryer chicken over rice, add some black beans or pinto beans, corn, salsa, and a dollop of Greek yogurt or sour cream. Top it with some avocado or guacamole if you’re feeling fancy. As for salads, they’re an amazing way to get your greens in while enjoying your delicious chicken. Start with a base of your favorite greens, add your sliced chicken, some chopped veggies, and a light vinaigrette. You can get creative here too, add some fruit like berries or apples, nuts or seeds for crunch, and a sprinkle of cheese if you like. Both salads and burrito bowls are super adaptable and can be customized to your liking. They’re a great way to use your air fryer chicken in a variety of ways.
Swaps, Substitutions, and Storage Tips for Air Fryer Chicken

Swaps, Substitutions, and Storage Tips for Air Fryer Chicken
Spice it Up: Swaps and Substitutions
Alright, let's talk about keeping things interesting. You've nailed the basic air fryer chicken, but what if you're tired of the same flavors? No problem! The beauty of this recipe is how easily you can swap things out. If you're not a fan of lemon, try lime or a splash of vinegar in your marinade. For seasonings, go wild! Smoked paprika, garlic powder, onion powder, chili powder, or even a little cumin can transform the flavor profile. Don't have olive oil? Avocado oil or even a light vegetable oil will work fine. And if you're watching your sodium, skip the seasoned salt and just use fresh herbs and spices. The key here is to experiment and find what you love. Don't be afraid to mix and match to create your own signature flavor.
And what about the chicken itself? While chicken breasts are the go-to for meal prep, you can totally use chicken thighs or even drumsticks. Just keep in mind that the cooking time might need to be adjusted slightly. Thighs tend to be more forgiving and stay moist even if you overcook them a little, while drumsticks might need a few extra minutes to reach that safe internal temperature. If you're vegetarian or vegan, you can still use this method with firm tofu or tempeh. Just press out the excess water, marinate it, and air fry it until it's crispy. You see? This recipe is super versatile, and it’s all about making it work for you. Don't feel like you have to stick to the same old routine. Get creative and make it your own!
Swap/Substitution | Why it Works | Notes |
|---|---|---|
Lime for Lemon | Adds a different citrusy twist | Use same amount as lemon |
Different Spices | Changes flavor profile | Experiment to find your favorite |
Avocado/Veg Oil for Olive Oil | Neutral flavor, healthy fats | Use same amount as olive oil |
Chicken Thighs/Drumsticks | More forgiving, different texture | Adjust cooking time |
Tofu/Tempeh | Vegetarian/Vegan option | Press out water, marinate well |
Storage Savvy: Keeping it Fresh
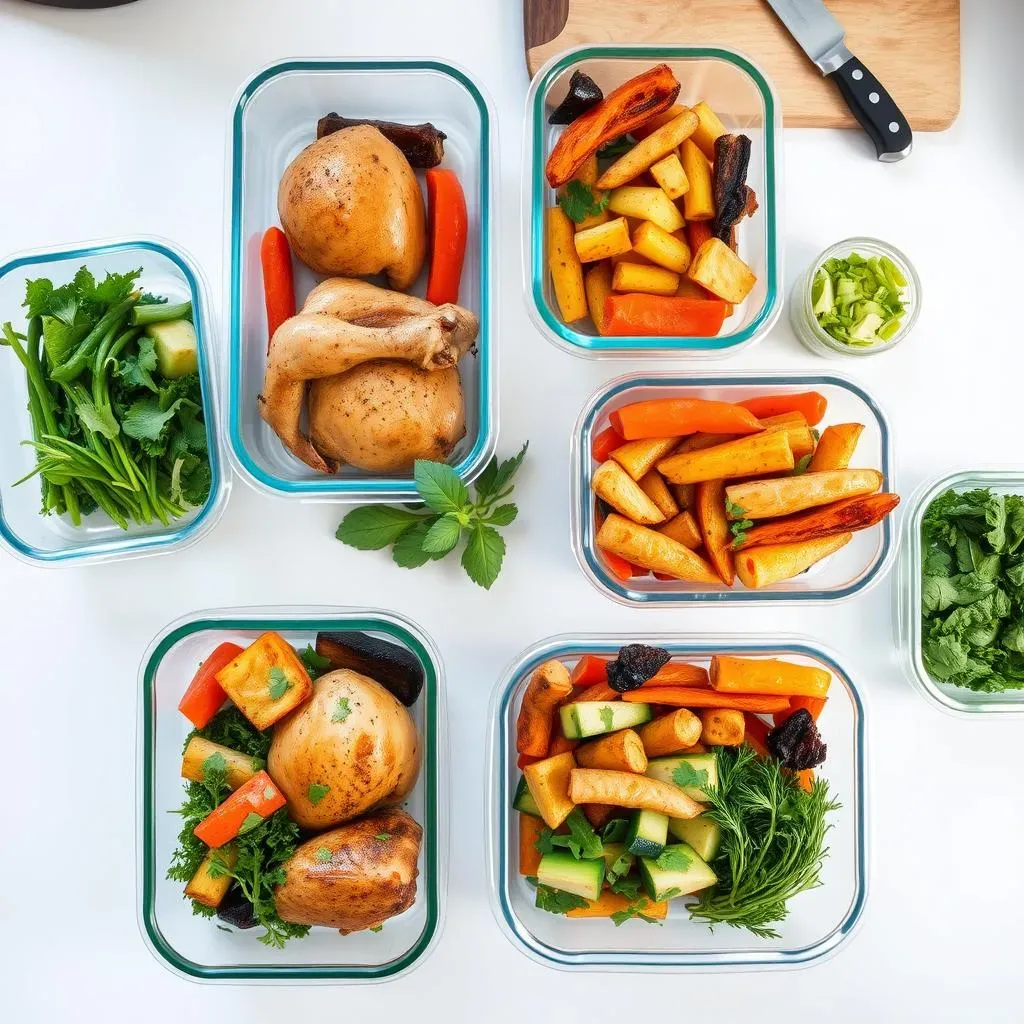
Okay, so you've got your meal prepped and ready to go. Now, how do you keep it fresh? The key is proper storage. Once your air fryer chicken is cooked and cooled, store it in airtight containers in the fridge. This will keep it fresh for about 3-4 days. Make sure to let the chicken cool completely before storing it, otherwise you might get condensation in the container, which can make the chicken a bit soggy. If you're prepping for the whole week, you can also freeze the chicken. Just wrap it tightly in freezer-safe bags or containers, and it will last for a few months. When you're ready to use it, thaw it in the fridge overnight and it will be good as new.
When it comes to those meal prep containers, choose wisely. Glass containers are fantastic because they don't absorb odors and they’re easy to clean. But if you're taking your lunch on the go, plastic containers might be more practical. Just make sure they’re BPA-free. And here’s a little tip, don’t assemble your entire meal in the container if you can avoid it. Instead, keep the chicken separate from the veggies and sauces, so things don’t get soggy. This allows you to mix and match and keep your meal fresh each day. Remember, good storage is crucial for meal prep success. If you take a little extra time to do it right, you’ll have delicious, fresh meals all week long.
- Cool chicken completely before storing.
- Store in airtight containers in the fridge for 3-4 days.
- Freeze chicken for longer storage (a few months).
- Thaw frozen chicken in the fridge overnight.
- Use glass or BPA-free plastic containers.
- Store components separately to prevent sogginess.