Table of Contents
Tired of boring lunches? Craving something that's both healthy and exciting? I get it. Meal prep can feel like a chore, but it doesn't have to be. That's why I'm sharing my go-to recipe for sheet pan chicken wraps. This isn't just another sad desk lunch; we're talking 48 wraps bursting with flavor, all from one sheet pan! We're making two delicious versions: a bright, zesty Mediterranean wrap and a smoky, spicy Tex-Mex option. These chicken wrap meal prep ideas are perfect for busy weeks, offering a mix of protein, veggies, and taste that'll keep you satisfied. This article will walk you through how to create these amazing wraps, from roasting the chicken to assembling the final product. I'll also include some handy tips for customization, storage, and reheating. Get ready to say goodbye to sad lunches and hello to flavorful, easy meal prep!
Sheet Pan Chicken for Meal Prep: Mediterranean & TexMex

Sheet Pan Chicken for Meal Prep: Mediterranean & TexMex
The Magic of One Pan
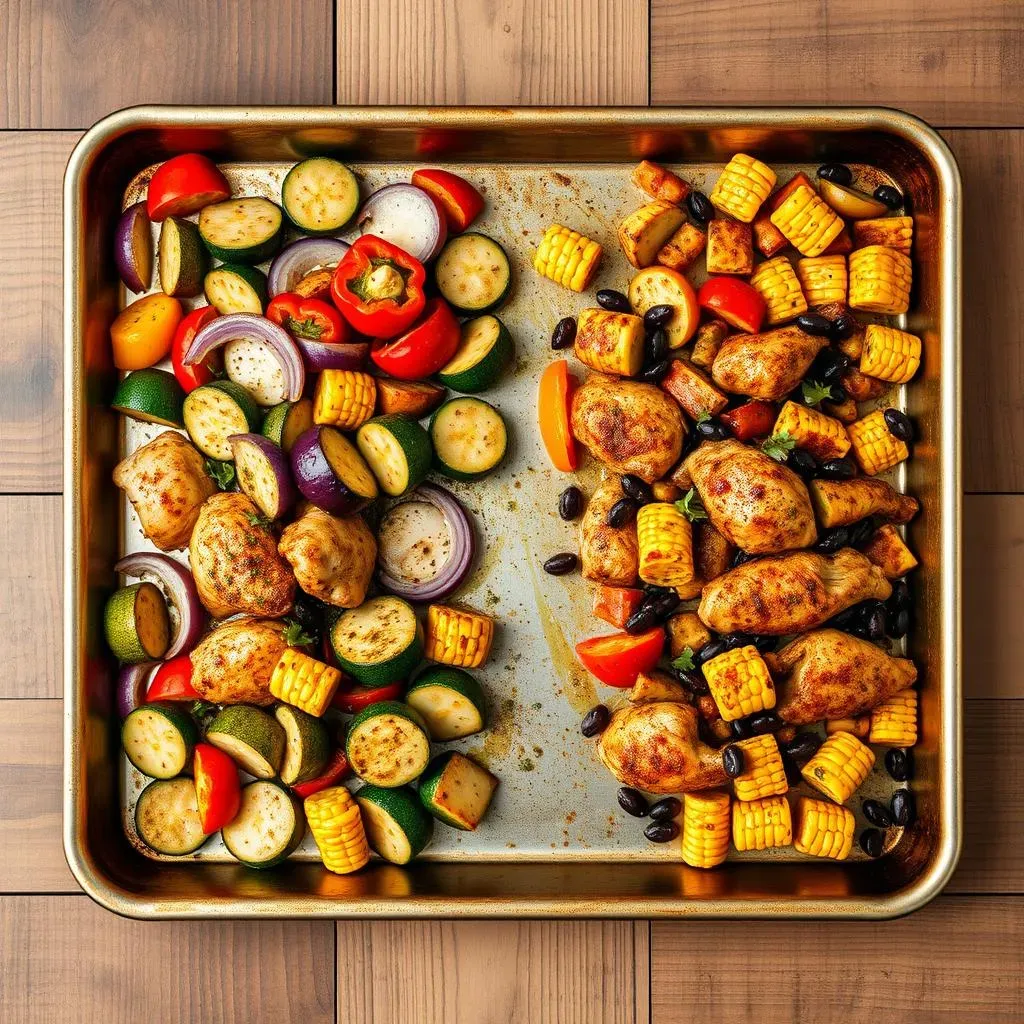
Okay, let's talk about why a sheet pan is basically a meal prep superhero. Instead of juggling multiple pots and pans, we're throwing everything onto one glorious sheet. This means less cleanup and more time for, well, anything else. The beauty of this method is that it's super simple. We're roasting the chicken and veggies together. The chicken gets wonderfully juicy, and the veggies get all caramelized and delicious. Trust me, it's a game-changer for anyone who wants to eat well without spending hours in the kitchen.
Mediterranean Vibes
For the Mediterranean side, think bright, fresh flavors. We're talking about chicken seasoned with oregano, garlic powder, and a touch of salt and pepper. Then, we're loading up the sheet pan with colorful bell peppers, red onion, and zucchini. A drizzle of olive oil is key here, it helps everything roast to perfection. Once it's all cooked, the aroma will transport you straight to a sunny Greek island. This is the kind of meal that makes you feel good from the inside out. It's light, satisfying, and packed with nutrients.
Tex-Mex Fiesta
Now, if you're in the mood for something a little bolder, the Tex-Mex version is where it's at. We're swapping out the Mediterranean herbs for chili powder, cumin, and a dash of smoked paprika. For veggies, think about colorful bell peppers, corn, and some black beans. You can even add a little bit of diced jalapeño if you like a bit of heat. This is a flavor explosion that will make your taste buds dance. It's hearty, satisfying, and perfect for when you need a little extra kick. I really think that both options are great, but the Tex-Mex is my go to when I need to spice things up.
Flavor Profile | Seasoning | Vegetables |
|---|---|---|
Mediterranean | Oregano, Garlic Powder, Salt, Pepper | Bell Peppers, Red Onion, Zucchini |
Tex-Mex | Chili Powder, Cumin, Smoked Paprika | Bell Peppers, Corn, Black Beans |
Assembling Your Chicken Wraps: Ingredients and Instructions

Assembling Your Chicken Wraps: Ingredients and Instructions
The Wrap Game Plan
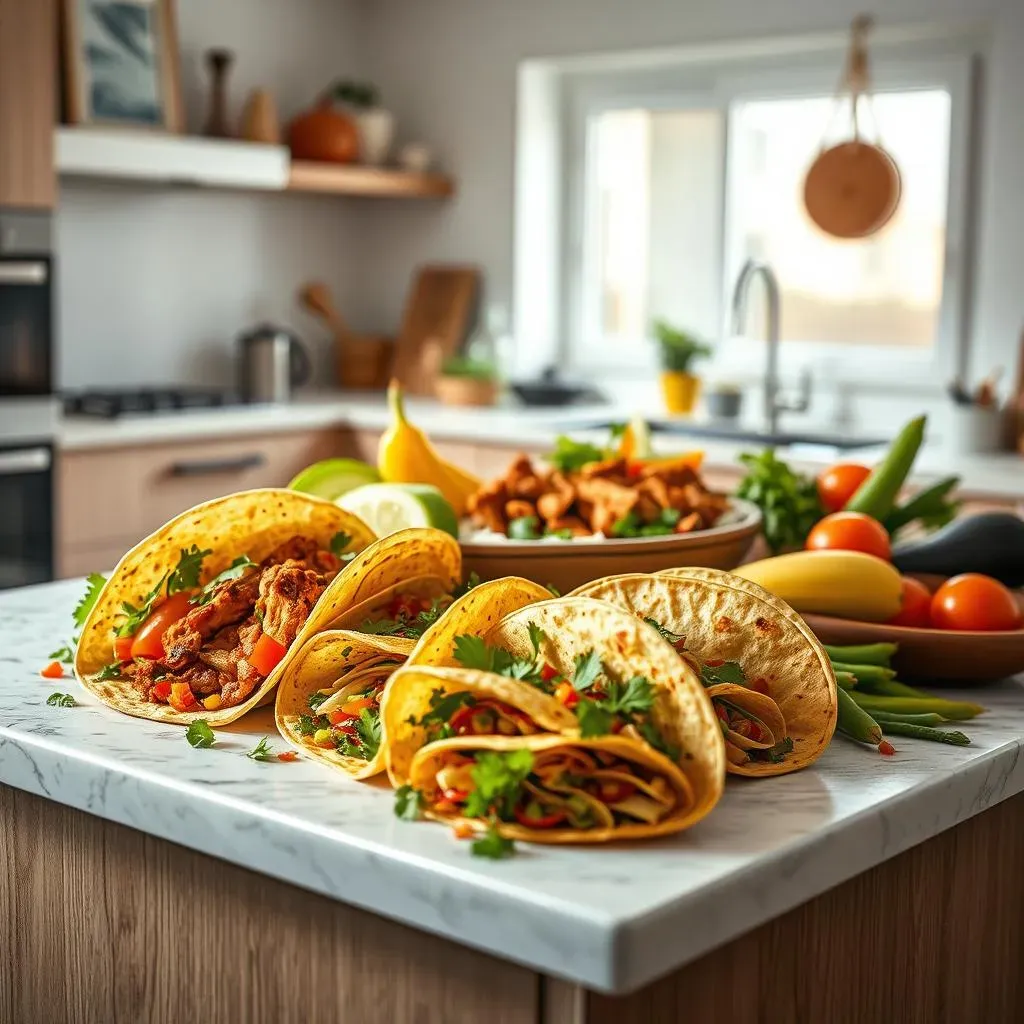
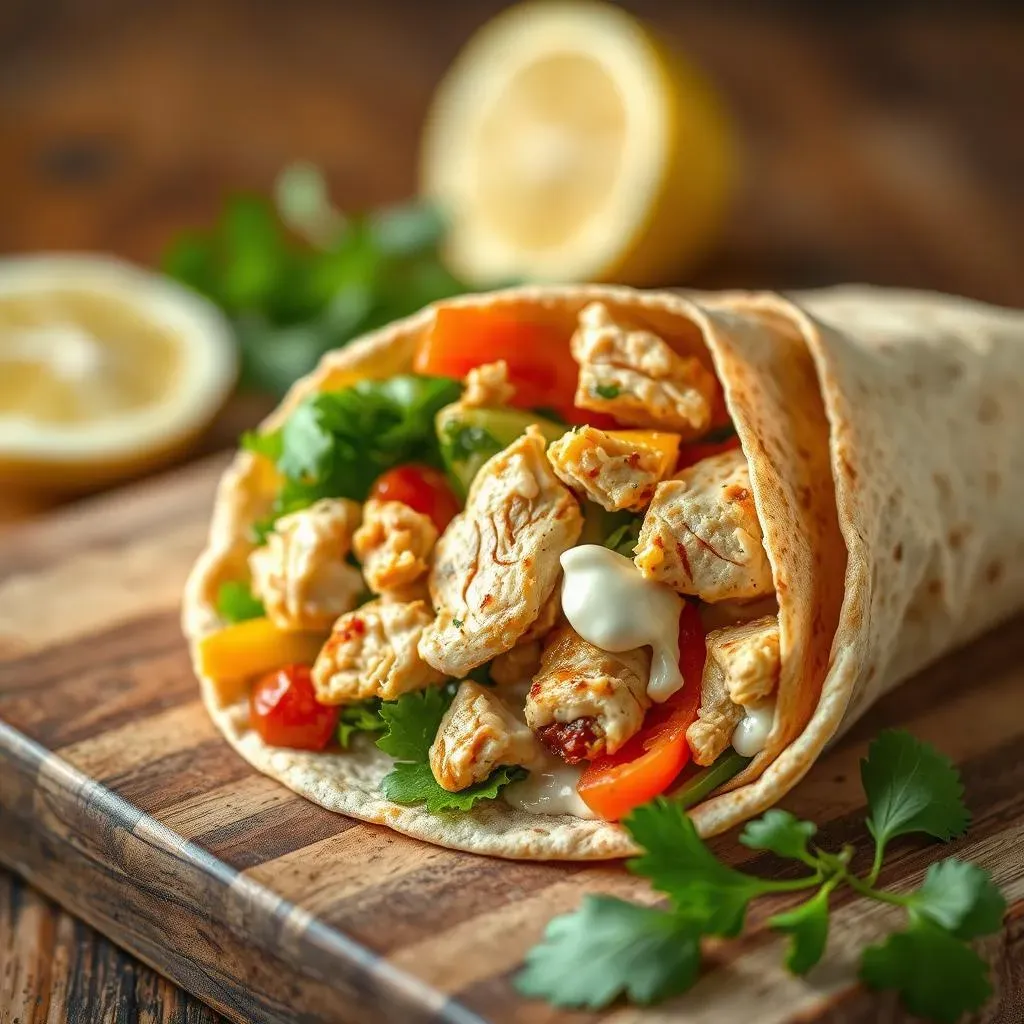
Alright, so you've got your sheet pan of deliciousness, now it's time to get wrapping. For this part, you'll need your cooked chicken and veggies, some tortillas (I like a mix of Mission Carb Balance flour tortillas and Counter protein tortillas for a bit of variety), some cheese if you're feeling cheesy, and any extra toppings you might want. Think about adding some crumbled feta for the Mediterranean wraps, or some shredded cheddar for the Tex-Mex. The key here is to not overstuff the wraps. You want to be able to fold them up neatly without them bursting at the seams. It's a balancing act, but you'll get the hang of it. A good tip is to start with a layer of cheese, then add your chicken and veggies, and then top with a little more cheese before wrapping.
Step-by-Step Assembly
Okay, let's break it down step-by-step. First, lay out your tortillas on a clean surface. Then, for each wrap, sprinkle a bit of cheese in the center. Next, add a generous spoonful of your chicken and veggie mix, making sure to distribute it evenly. If you want, now's the time to add any extra toppings like a dollop of tzatziki for the Mediterranean or a spoonful of salsa for the Tex-Mex. Once that's done, fold in the sides of the tortilla and then roll it up tightly. You can either serve them as is, or if you want, you can grill or bake them for a little extra crispiness. If you decide to grill or bake them, just spray them lightly with some cooking spray and cook for a few minutes on each side. This gives them a nice golden color and a little added crunch.
- Lay out tortillas.
- Sprinkle cheese in the center.
- Add chicken and veggie mix.
- Add extra toppings (optional).
- Fold in sides, then roll up tightly.
- Grill or bake for extra crisp (optional).
Chicken Wrap Customization, Storage & Reheating Tips

Chicken Wrap Customization, Storage & Reheating Tips
Wrap Customization: Your Kitchen, Your Rules
Alright, let's talk about how to make these wraps truly *yours*. The beauty of this recipe is that it's totally customizable. Don't like bell peppers? Swap them for mushrooms or spinach. Want more heat? Add a pinch of red pepper flakes or some diced chipotle peppers. The seasoning is also totally up for grabs. Experiment with different herbs and spices to find your perfect flavor combos. Maybe you want a lemon-herb version, or perhaps a smoky chipotle one. The choice is yours! And don't even get me started on fillings! You can add olives, sun-dried tomatoes, or even some roasted sweet potatoes. The possibilities are truly endless. I always say that cooking should be fun, so don't be afraid to play around and see what you come up with.
Storage and Reheating: Keeping it Fresh
Okay, so you've got a pile of delicious wraps. Now what? Well, the good news is that these wraps store really well, making them perfect for meal prepping. For the best results, let the wraps cool completely before wrapping them individually in plastic wrap or foil. This will keep them from getting soggy. Then, pop them in an airtight container and store them in the fridge for up to 4 days. If you want to freeze them, you can wrap them tightly in plastic wrap, then put them in a freezer-safe bag. They'll last for about 2-3 months in the freezer. When it's time to reheat, you have a few options. You can pop them in the microwave for a minute or two, but be careful not to overdo it, or they can get a bit rubbery. I find that the best way is to use an air fryer or oven. Just heat them at 350°F for about 5-10 minutes, or until they're warmed through and a little crispy. This will bring them back to their original glory.
Reheating Options
- Microwave: Quick, but can make wraps a bit soft.
- Air Fryer: Best for crispiness, takes just a few minutes.
- Oven: Good for reheating multiple wraps, allows for even heating.
Pro-Tips for Wrap Perfection
Before I let you go, I've got a few extra pro-tips for you. First, if you're using a lot of juicy fillings, consider lining the tortilla with a thin layer of cheese or hummus. This can help prevent the tortilla from getting soggy. Second, don't be afraid to experiment with different types of tortillas. Whole wheat, spinach, or even gluten-free options can add a unique twist. And finally, remember that the key to a great wrap is balance. Don't overstuff it, and make sure to distribute the ingredients evenly. With a little practice, you'll be a wrap-making master in no time. So, go ahead and get creative. This recipe is just a starting point. The real fun is in making it your own.