Table of Contents
Meal prepping is a game-changer for busy folks, but nobody wants to open a container of slimy, spoiled food. Figuring out how to keep meal prep from going bad is essential for saving time, money, and your stomach. We've all been there: excitedly preparing a week's worth of lunches, only to find them turning questionable a few days later. It's frustrating, wasteful, and a potential health hazard. Think of this guide as your meal prep survival kit. We'll dive into the sneaky culprits behind spoilage, from improper storage to cooking mishaps. You'll learn how to plan like a pro, choose the right containers, and master the art of safe reheating. Plus, we'll tackle the freezer—your secret weapon for extending the life of your culinary creations. By the end of this, you'll confidently prep meals that stay fresh, delicious, and safe to eat all week long. Let's get started and say goodbye to meal prep nightmares.
Why Does Meal Prep Go Bad? Understanding the Spoilage Factors
Why Does Meal Prep Go Bad? Understanding the Spoilage Factors
The Microbial Culprits: Bacteria, Mold, and Yeast
So, you've prepped your meals, feeling all organized and ready to conquer the week. But then, disaster strikes! Your carefully crafted lunches are now a science experiment gone wrong. What gives? The main reason meal prep goes bad is due to those tiny, unseen freeloaders: bacteria, mold, and yeast. These microorganisms are everywhere, and they thrive on the nutrients in your food. Given the right conditions—warmth, moisture, and time—they multiply like crazy, leading to spoilage, off-flavors, and potentially harmful toxins.
Think of it like this: you're essentially creating a mini-ecosystem in your meal prep containers. If you don't control the environment, these microbes will throw a party, and your food will be the main course. Different foods are more susceptible to certain types of spoilage. For example, cooked rice is notorious for harboring Bacillus cereus, a bacterium that can cause food poisoning. Leafy greens can quickly become slimy due to bacterial growth. Understanding these microbial villains is the first step in keeping your meal prep safe and delicious.
Environmental Factors: Temperature, Air, and Moisture
Beyond the microbes themselves, environmental factors play a huge role in how quickly your meal prep spoils. Temperature is a big one. The "danger zone" for bacterial growth is between 40°F and 140°F (4°C and 60°C). This is why it's crucial to cool your cooked food quickly and refrigerate it promptly. Air exposure can also accelerate spoilage. Oxygen can cause oxidation, leading to changes in color, flavor, and texture. This is especially true for cut fruits and vegetables, which can brown and become unappetizing. Moisture is another key factor. High humidity can encourage mold growth, while excessive moisture can make food soggy and create a breeding ground for bacteria.
Consider this: a container left out on the counter for a couple of hours is like an invitation for bacteria to move in and start multiplying. Properly sealing your containers helps minimize air exposure, keeping your food fresher for longer. Also, drying your washed greens thoroughly before storing them can prevent that dreaded slimy texture. By controlling these environmental factors, you can significantly slow down the spoilage process and extend the life of your meal prep.
Smart Strategies: Planning and Timing to Keep Meal Prep Fresh

Smart Strategies: Planning and Timing to Keep Meal Prep Fresh
Crafting a Weekly Menu: Your Roadmap to Freshness
Alright, let's talk strategy. How to keep meal prep from going bad really boils down to smart planning. First things first: ditch the haphazard approach and create a weekly menu. This isn't just about deciding what you'll eat; it's about mapping out a timeline for freshness. Think about which meals you'll eat early in the week versus later. Save the most perishable ingredients for the first few days and the hardier stuff for the end. For example, delicate greens and berries are best consumed within the first two days, while roasted vegetables and grains can last a bit longer.
Consider your schedule too. If you know you'll be eating out on Thursday, don't prep a meal that will sit untouched in the fridge. Be realistic about your consumption habits and adjust your menu accordingly. Also, don't be afraid to repeat meals! Variety is great, but sometimes simplicity is key to avoiding food waste. A well-thought-out menu is your first line of defense against spoilage. It's like having a roadmap that guides you through the week, ensuring that your food stays fresh and delicious every step of the way.
Prep Twice, Not Once: The Mid-Week Refresh
Here's a pro tip that can seriously extend the life of your meal prep: prep twice a week instead of just once. I know, I know, it sounds like more work, but trust me, it's worth it. Instead of spending an entire Sunday afternoon slaving away in the kitchen, break it up into two smaller sessions. Prep a batch of meals for the first three to four days, then do another session mid-week to replenish your supply. This way, you're always eating food that's relatively fresh.
This strategy is especially useful for ingredients that tend to wilt or spoil quickly, like salads, berries, and certain cooked proteins. For example, you could prep your grain bowls with roasted veggies and a hardy grain on Sunday, then add the fresh spinach and grilled chicken on Wednesday. This approach ensures that your meals are always at their peak of freshness and flavor. Plus, it gives you a chance to switch things up and avoid meal prep fatigue. Trust me, your taste buds will thank you.
Prep Schedule | Sunday | Wednesday |
|---|---|---|
Meals | Days 1-3 | Days 4-6 |
Focus | Hearty bases, roasted veggies | Fresh toppings, delicate ingredients |
Freezing for the Future: Your Longevity Hack
Let's talk about the freezer—your secret weapon for extending the life of your meal prep. Freezing is a fantastic way to preserve food and prevent spoilage, especially if you know you won't be able to eat everything within a few days. Many meals freeze beautifully, including soups, stews, casseroles, and cooked grains. Just make sure to cool your food completely before freezing it to prevent ice crystals from forming. Also, use freezer-safe containers or bags to protect your food from freezer burn.
When freezing, portion your meals into individual servings for easy thawing and reheating. Label each container with the date and contents so you know what you're grabbing. To thaw, transfer your frozen meal to the refrigerator the night before you plan to eat it. This allows for slow, even thawing, which helps maintain the texture and flavor of the food. For quicker thawing, you can use the microwave, but be sure to consume the food immediately. Freezing is a game-changer for meal prep, allowing you to batch cook and enjoy fresh, healthy meals whenever you want, without worrying about spoilage.
Safe Cooking and Storage: Key Steps to Extend Meal Prep Longevity
Safe Cooking and Storage: Key Steps to Extend Meal Prep Longevity
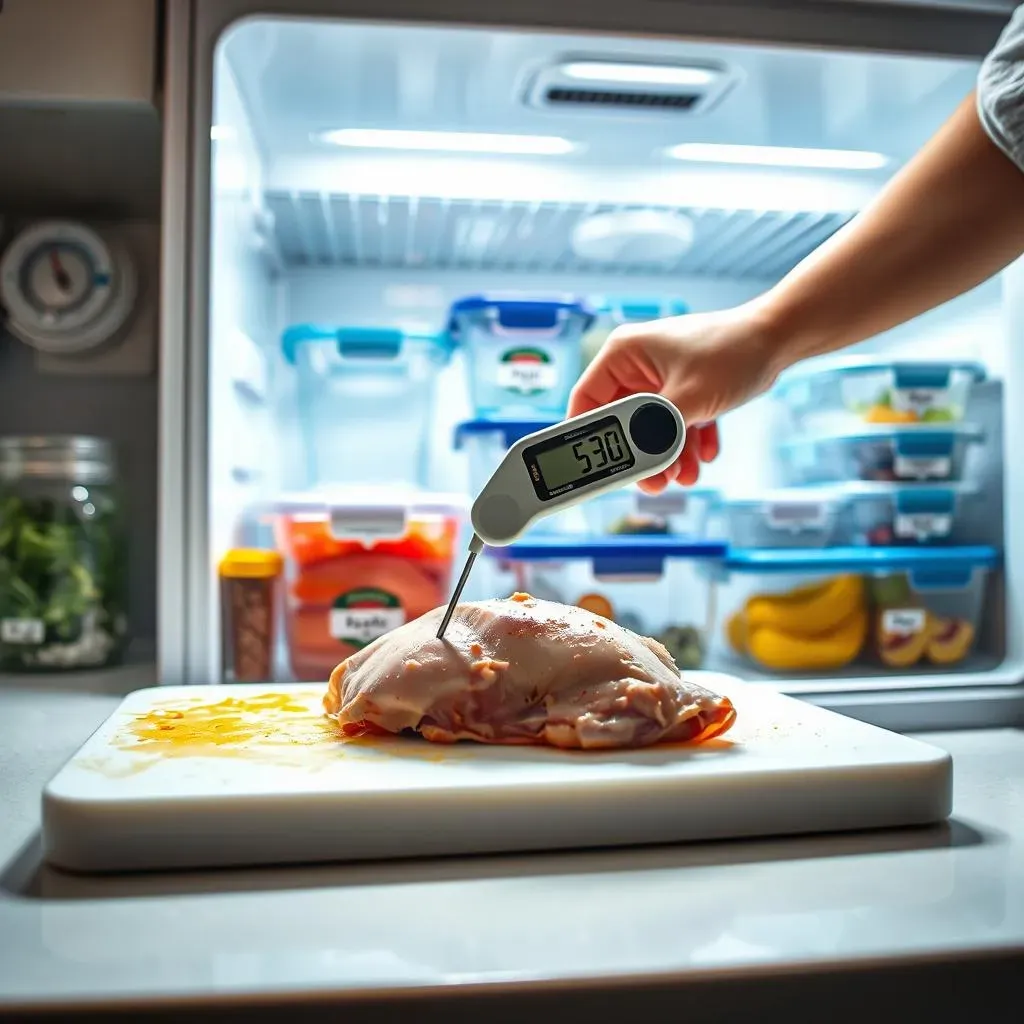
Cooking it Right: FDA Guidelines and Internal Temperatures
so you've planned your menu and prepped your ingredients, but don't drop the ball now! Safe cooking is absolutely crucial for how to keep meal prep from going bad. This isn't the time to wing it. Follow the FDA guidelines for safe cooking temperatures like your life depends on it—because it kinda does! Invest in a good meat thermometer and use it religiously. Poultry needs to reach 165°F (74°C), ground meats 160°F (71°C), and fish 145°F (63°C). Don't rely on guesswork; those few extra degrees can make all the difference between a healthy meal and a food poisoning nightmare.
Also, remember the basics of food safety: wash your hands thoroughly before handling food, rinse fruits and vegetables under running water, and avoid cross-contamination by using separate cutting boards for raw meats and produce. These simple steps can significantly reduce the risk of bacterial contamination and keep your meal prep safe to eat. Cooking food to the right temperature kills harmful bacteria, making it safe for consumption. It's not just about taste; it's about protecting your health.
I once had a friend who thought she could eyeball the doneness of chicken. Let's just say her meal prep ended with an unexpected trip to the doctor. Learn from her mistakes! A meat thermometer is your best friend in the kitchen. Trust it, use it, and stay safe.
Cooling and Refrigerating: The 2-Hour Rule and Beyond
You've cooked your food to perfection—great! Now comes the next critical step: cooling and refrigerating it properly. The golden rule here is the 2-hour rule: perishable foods should not sit at room temperature for more than two hours. Bacteria love warm environments, so the quicker you cool your food, the better. Divide large quantities of food into smaller containers to speed up the cooling process. Shallow containers allow heat to dissipate more quickly than deep pots.
Once your food has cooled down, refrigerate it promptly at 40°F (4°C) or below. Use a refrigerator thermometer to ensure your fridge is at the right temperature. Don't overcrowd your fridge, as this can restrict airflow and prevent proper cooling. Also, store your meal prep containers on the top shelves, where the temperature is more consistent. Proper cooling and refrigeration are essential for slowing down bacterial growth and keeping your meal prep fresh and safe. Think of your refrigerator as a time machine, slowing down the spoilage process and preserving your food for later consumption.
Here's a quick guide to safe refrigeration:
- Cool food quickly in shallow containers.
- Refrigerate within 2 hours of cooking.
- Maintain fridge temperature at 40°F (4°C) or below.
- Store meal prep on top shelves.
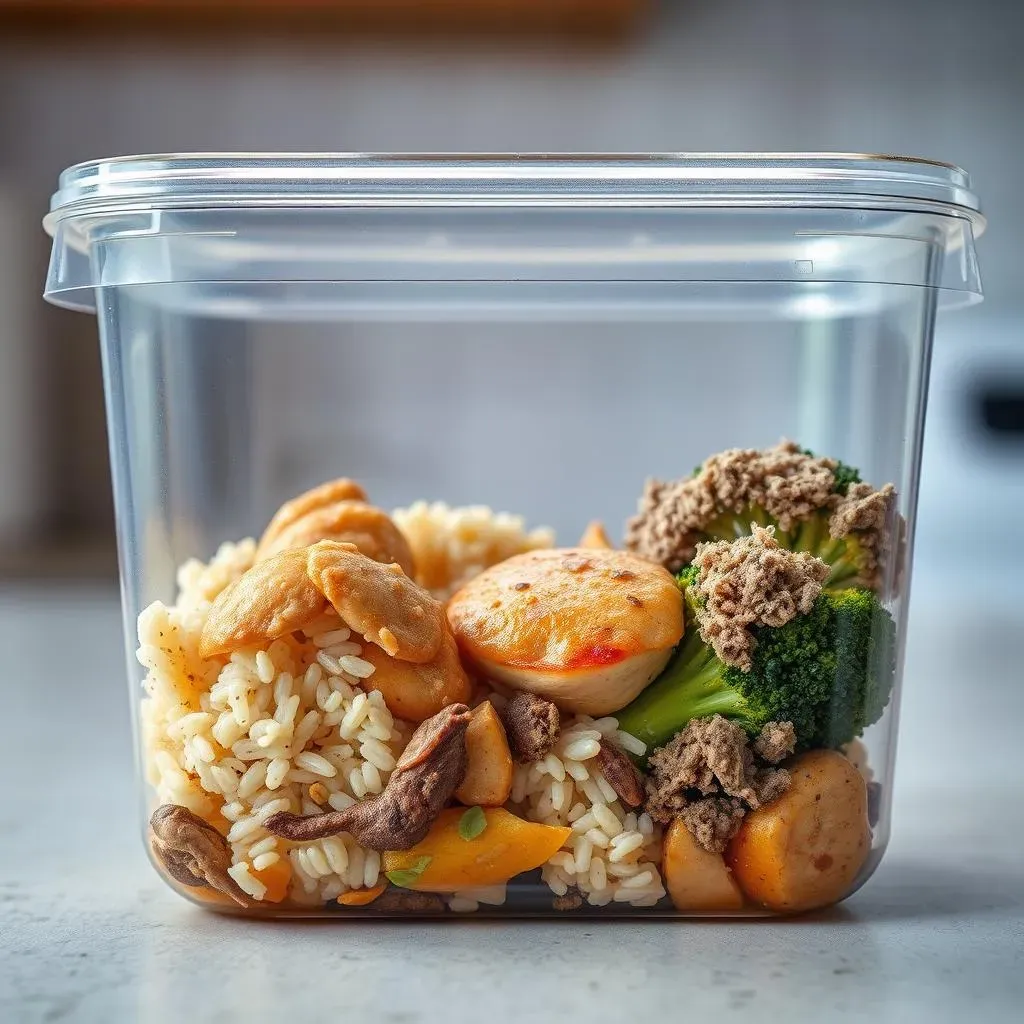
Container Considerations: Airtight, Durable, and Safe
Let's talk containers. The right containers can make or break your meal prep game. You want containers that are airtight, durable, and safe for microwave, dishwasher, and freezer use. Airtight containers prevent air exposure, which can cause oxidation and spoilage. Durable containers can withstand the rigors of daily use and prevent leaks. Safe containers are made from materials that won't leach harmful chemicals into your food.
Glass containers are a great option because they're non-toxic, easy to clean, and microwave-safe. However, they can be heavy and breakable. Plastic containers are lighter and more durable, but make sure they're BPA-free and microwave-safe. Avoid using flimsy, single-use containers, as they're more likely to leak and won't keep your food as fresh. Also, consider the size and shape of your containers. Opt for containers that are the right size for your portion sizes to minimize air space. Square or rectangular containers are more space-efficient than round ones.
Remember to label your containers with the date and contents so you know what you're grabbing and when it was prepped. This simple step can prevent confusion and ensure that you're eating your meals in the right order. Your containers are like the armor protecting your meal prep, so choose them wisely!
Here's a quick comparison of container types:
Container Type | Pros | Cons |
|---|---|---|
Glass | Non-toxic, easy to clean, microwave-safe | Heavy, breakable |
Plastic (BPA-free) | Lightweight, durable, microwave-safe | Can stain, may not be as airtight |
Beyond the Basics: Freezing, Reheating, and Knowing When to Toss Meal Prep
Beyond the Basics: Freezing, Reheating, and Knowing When to Toss Meal Prep
Freezer Mastery: Extending Meal Prep's Lifespan
So, you've got a handle on the basics, but what about maximizing your meal prep's lifespan? That's where the freezer comes in! It's not just for ice cream and leftovers; it's a powerful tool for extending the life of your prepped meals. Think of it as hitting the pause button on spoilage. Most cooked meals can be frozen for 2-3 months without significant loss of quality. Soups, stews, casseroles, and cooked grains are all excellent candidates for freezing. Just make sure to cool your food completely before freezing to prevent ice crystals from forming, which can affect the texture.
When freezing, portion your meals into individual servings for easy thawing and reheating. Use freezer-safe containers or bags to protect your food from freezer burn. And don't forget to label everything with the date and contents! Trust me, future you will thank you for not having to guess what mystery meal you're pulling out of the freezer. Freezing is a game-changer for busy people who want to enjoy healthy, homemade meals without spending hours in the kitchen every week.
Reheating Right: Maintaining Flavor and Safety
you've got your frozen meal prepped and ready to go. Now, how do you reheat it without turning it into a mushy, flavorless mess? The key is to reheat gently and evenly. Thawing your meal in the refrigerator overnight is the best option, as it allows for slow, even thawing, which helps maintain the texture and flavor of the food. If you're short on time, you can use the microwave, but be sure to use a microwave-safe container and heat in short intervals, stirring in between, to prevent hot spots.
When reheating, make sure your food reaches an internal temperature of 165°F (74°C) to kill any bacteria that may have grown during storage. Use a food thermometer to check the temperature, especially for meat and poultry. Avoid reheating food multiple times, as this can increase the risk of bacterial growth. And remember, some foods just don't reheat well. Fried foods, for example, tend to get soggy, while delicate greens can wilt and become unappetizing. Choose your meal prep recipes wisely, keeping in mind which foods are best suited for reheating.
Here's a quick guide to safe reheating:
- Thaw in the refrigerator overnight for best results.
- Use a microwave-safe container and heat in short intervals, stirring in between.
- Ensure food reaches an internal temperature of 165°F (74°C).
- Avoid reheating food multiple times.
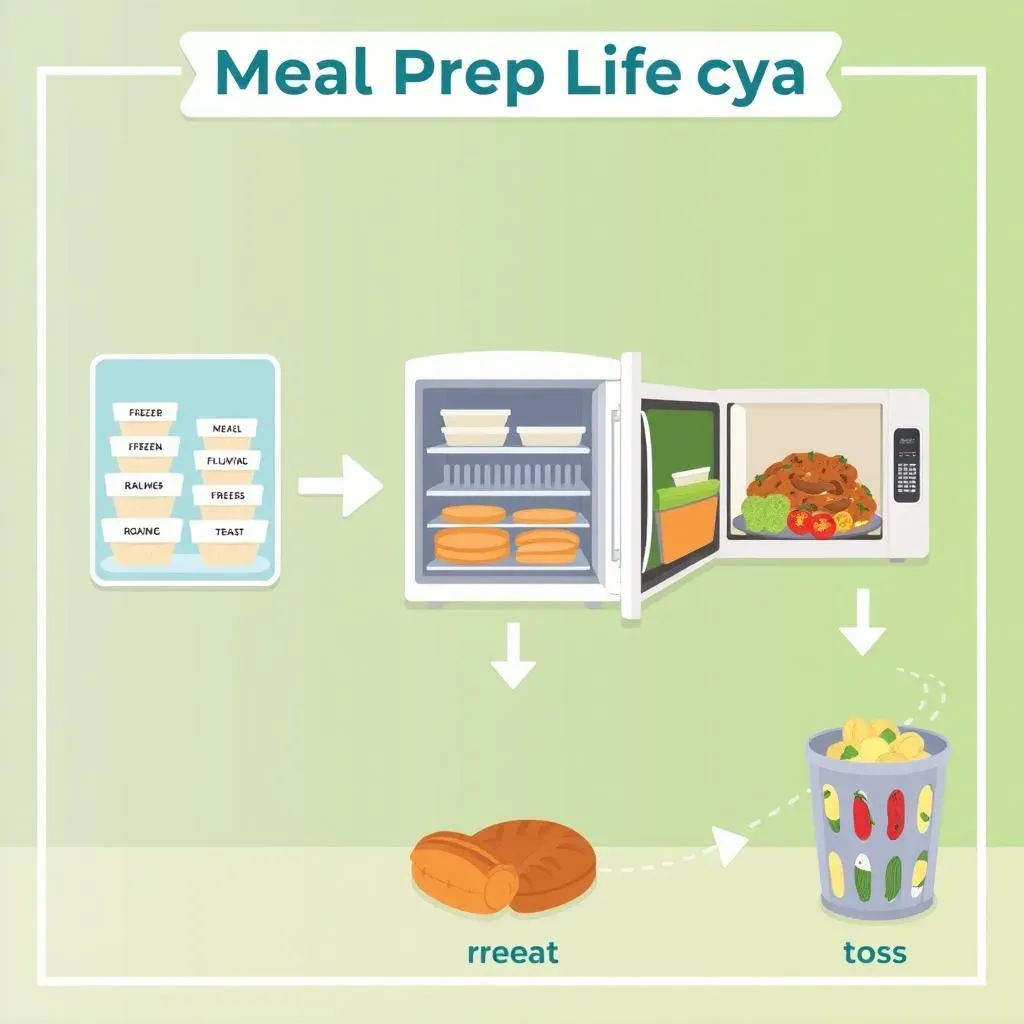
When to Toss: Spotting the Danger Signs
Alright, let's get real. Sometimes, despite your best efforts, meal prep goes bad. Knowing when to toss it is crucial for avoiding food poisoning. Trust your senses! If your meal looks, smells, or tastes off, don't risk it. Common signs of spoilage include a slimy texture, a sour or off odor, discoloration, and mold growth. When in doubt, throw it out! It's better to waste a meal than to spend a day or two feeling sick.
As a general rule, meal prep should be consumed within 3-4 days of preparation. After that, the risk of bacterial growth increases significantly. If you've frozen your meal prep, it's good for 2-3 months. However, even frozen food can eventually spoil, so don't keep it in the freezer indefinitely. Label your containers with the date of preparation, so you know how long they've been stored. And remember, if you're ever unsure about the safety of your meal prep, it's always better to err on the side of caution and toss it. Your health is worth more than a few dollars worth of food.
Here's a handy table to help you determine when to toss your meal prep:
Storage Method | Shelf Life | Signs of Spoilage |
|---|---|---|
Refrigerator | 3-4 days | Slimy texture, sour odor, discoloration, mold growth |
Freezer | 2-3 months | Freezer burn, off odor, changes in texture |
Mastering Meal Prep: Freshness and Flavor, Guaranteed
So, you've got the knowledge, now go forth and conquer your meal prep! By understanding the science behind spoilage, planning smartly, and following safe cooking and storage practices, you can transform your meal prep game. No more sad, wilted salads or questionable leftovers. Embrace the freedom of having healthy, delicious meals ready when you are, knowing that they're as safe as they are satisfying. Remember, a little extra care goes a long way in keeping your meal prep fresh, flavorful, and free from unwanted surprises. Happy prepping!