Table of Contents
Tired of the same old sad desk lunches, especially when a microwave is nowhere in sight? I get it. We've all been there, staring longingly at a cold, unappetizing meal, wishing for something, anything, with flavor. But what if I told you that you can have delicious, satisfying, and exciting lunches without ever needing to heat them up? That’s where the magic of "meal prep ideas no microwave" comes in. This article is your guide to creating amazing cold lunches that will make your coworkers jealous. We're going to explore how to keep your food safe without a microwave, dive into ten categories of no-reheat meal options, from vibrant chickpea salads to hearty grain bowls, and give you the tips and tricks you need to avoid the dreaded soggy sandwich. Get ready to say goodbye to boring lunches and hello to a world of tasty, no-heat possibilities! So, are you ready to transform your lunch game? Let's get started.
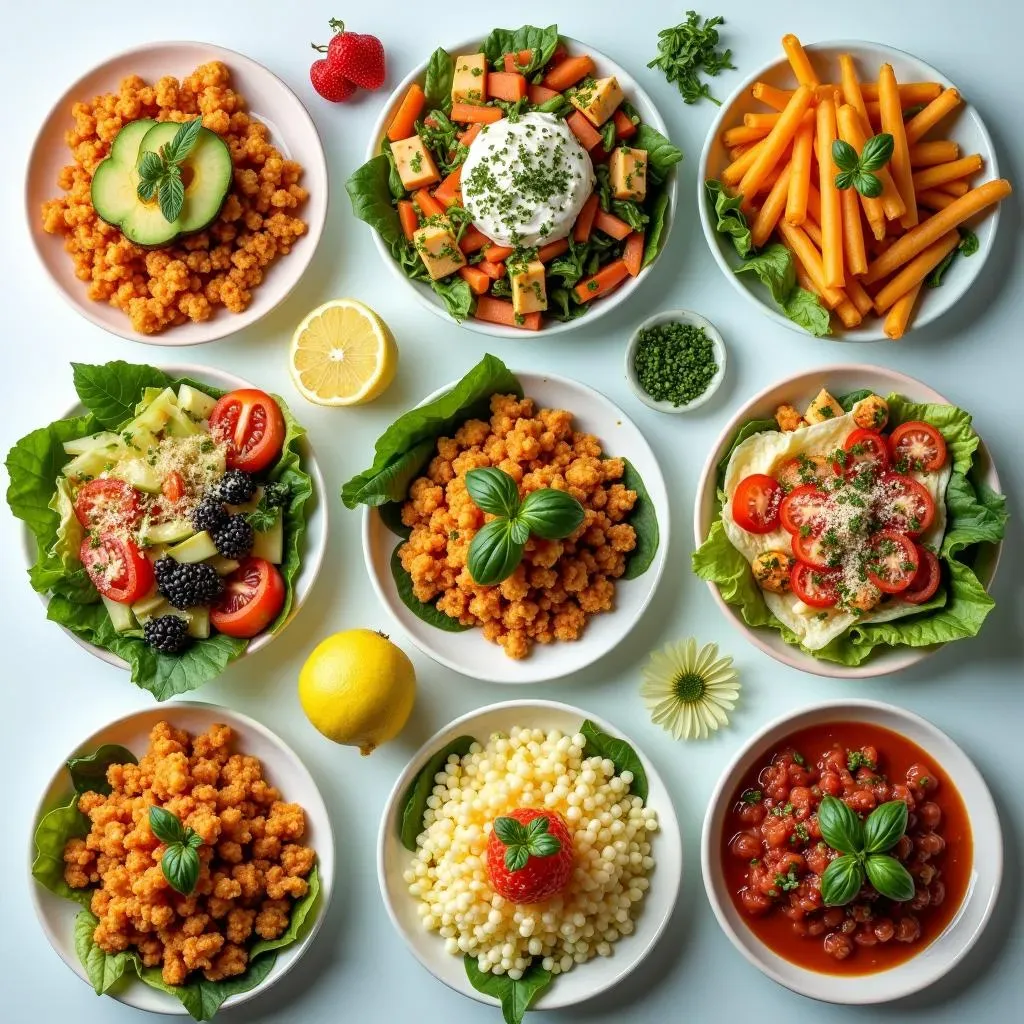
No Microwave? No Problem! Delicious Meal Prep Ideas
No Microwave? No Problem! Delicious Meal Prep Ideas
The No-Heat Lunch Revolution
Let's be real, not having a microwave at work or school can feel like a culinary curse. You're stuck with sad, lukewarm leftovers or another boring sandwich. But it doesn't have to be that way! The world of no-microwave meal prep is actually a fantastic place to be. It pushes you to think outside the box, to get creative with flavors and textures, and to embrace the joy of cold, delicious meals. It’s not about limitations; it’s about opening up a whole new world of tasty possibilities.
Think vibrant salads, zesty pasta dishes, and hearty grain bowls. Imagine enjoying a flavorful meal that’s just as satisfying as anything you could heat up. This isn't just about surviving without a microwave; it's about thriving, about enjoying your lunch break with something that's both nourishing and exciting. So, ditch the microwave woes and get ready to explore the delicious side of cold meal prep!
Why Cold Prep is a Game Changer
I used to think meal prep was all about those sad, reheated containers of last night's dinner. But then I discovered the magic of cold prep. It's like a whole different level of meal planning. You're not limited by what tastes good reheated. You can focus on fresh ingredients, crisp textures, and vibrant flavors that shine when they're cold. It's like a mini-adventure every lunch break, a chance to try something new and exciting.
Plus, let's be honest, it's just plain easier. No more waiting in line for the office microwave or dealing with the dreaded "popcorn smell" lingering in the air. Cold prep is grab-and-go convenience at its finest. You make it, you chill it, you eat it. Simple, delicious, and stress-free. What's not to love?
Benefit of Cold Meal Prep | Why It's Awesome |
|---|---|
No Microwave Needed | Perfect for work, school, or on-the-go |
Fresh Flavors & Textures | Enjoy vibrant, crisp ingredients |
Convenience | Grab-and-go simplicity |
Creativity | Explore new flavor combinations |
Refrigeration is Key: Keeping Your NoHeat Meals Safe
Refrigeration is Key: Keeping Your NoHeat Meals Safe
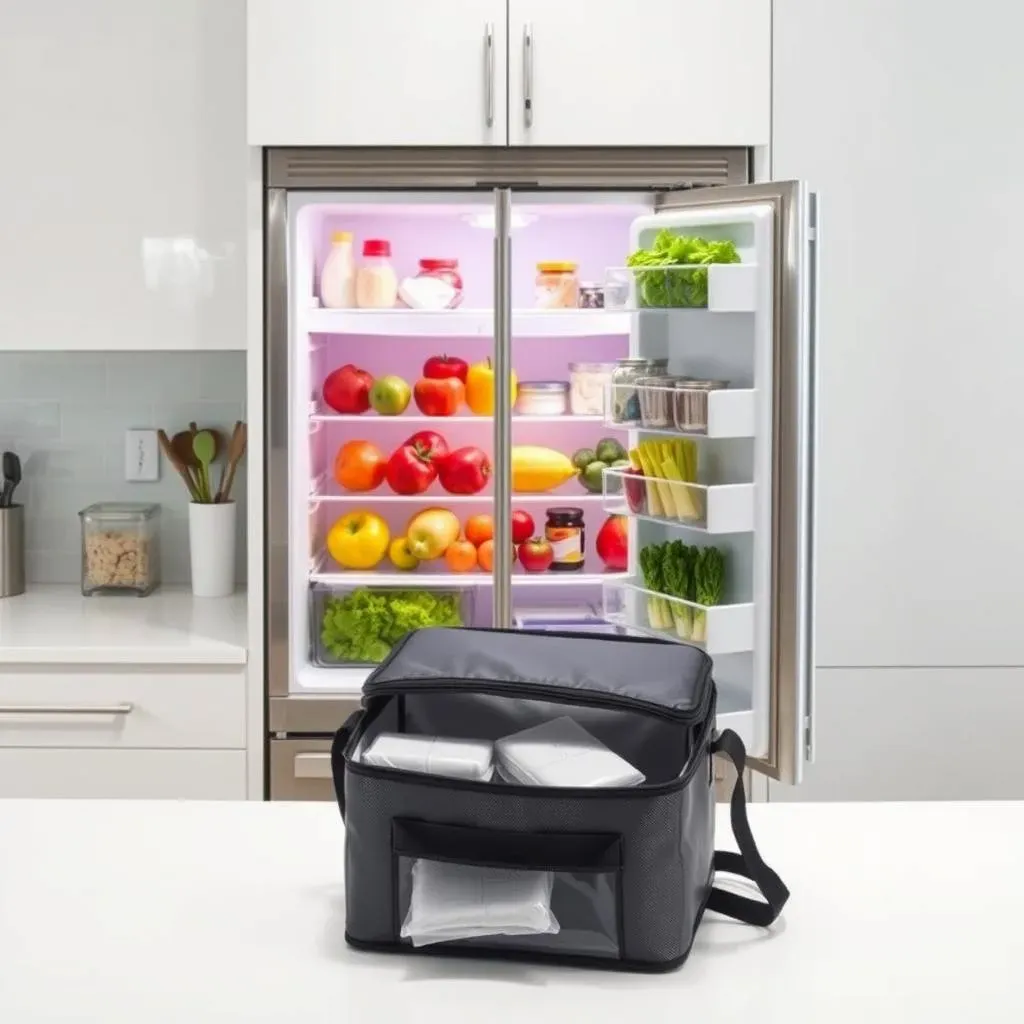
so we're all excited about no-microwave meal prep, but let's talk safety for a sec. Because, let's be honest, nobody wants a side of food poisoning with their delicious lunch. When you’re skipping the microwave, refrigeration becomes your best friend. It's not just about keeping things cold; it's about keeping things safe from bacteria that love to party in warm environments. Think of your fridge as your personal bouncer, keeping those unwanted guests out of your lunch.
The key thing to remember is the "danger zone," which is between 40°F and 140°F (4°C and 60°C). That's where bacteria multiply like crazy, and not in a good way. You want to make sure your prepped meals stay out of that zone as much as possible. Always refrigerate your food promptly after preparing it, and make sure your fridge is set to the correct temperature. A good food thermometer is a wise investment, it helps you to know if your fridge is cold enough to keep your food safe.
Safety Guideline | Why It Matters |
|---|---|
Refrigerate Promptly | Prevents bacteria growth |
Maintain Fridge Temperature | Keep food below 40°F (4°C) |
Use a Food Thermometer | Ensure fridge is cold enough |
Pack with Ice Packs | Keep meals cold on the go |
And when it's time to pack your lunch, don't just toss it in your bag and hope for the best. Use insulated lunch bags and throw in some ice packs to keep everything nice and chilly. It's a small effort that can make a big difference in preventing foodborne illness. Remember, food safety isn't just about avoiding a stomach ache; it's about protecting your health and enjoying your meal with peace of mind.
Also, be aware of how long your food has been sitting out. If your lunch has been at room temperature for more than two hours, it's probably best to toss it. It's better to be safe than sorry, right? No meal is worth risking your health. So, keep those no-heat meals chilled, and enjoy your delicious, safe lunches!
10 Categories of NoReheat Meal Prep Ideas
10 Categories of NoReheat Meal Prep Ideas
The No-Heat Meal Prep Spectrum
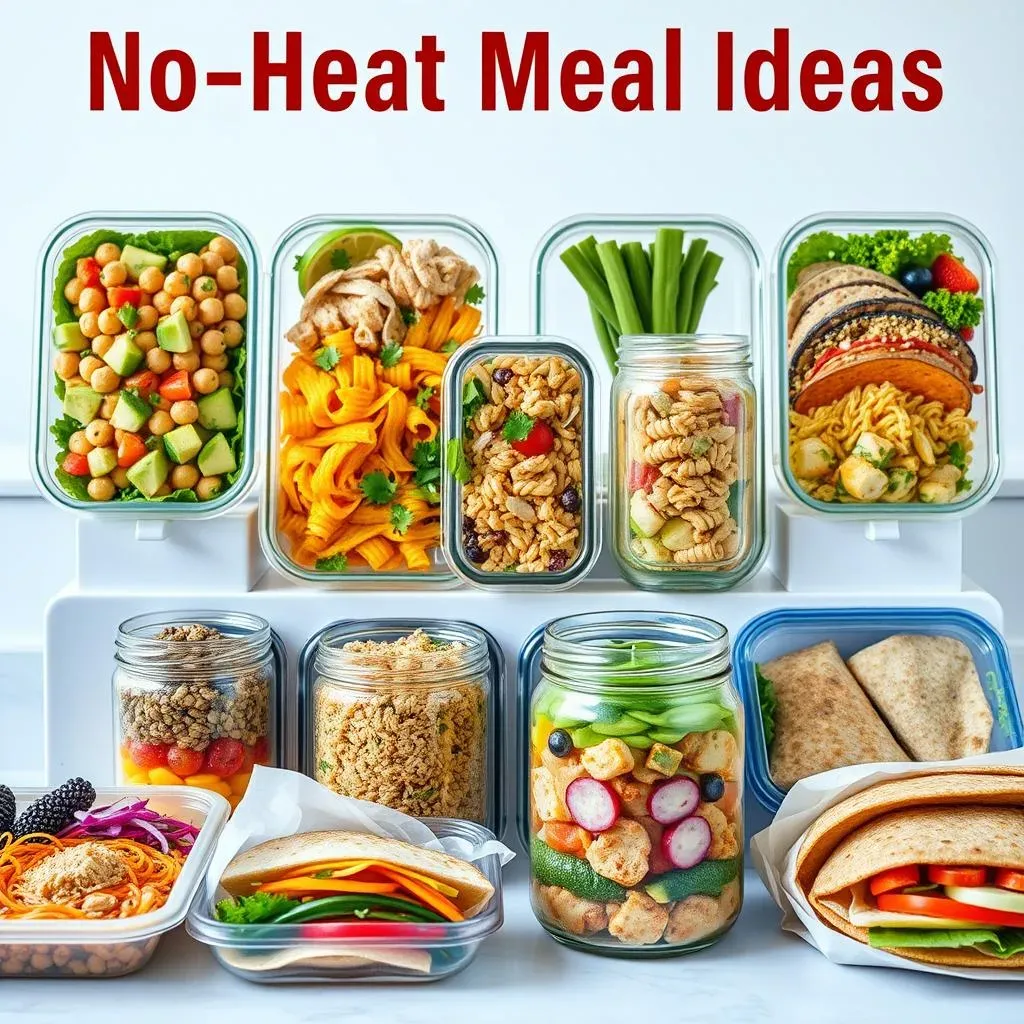
Alright, let's get to the good stuff, the heart of this whole no-microwave meal prep adventure: the actual food! I've broken down the world of cold lunches into ten categories. Think of it as your culinary toolbox. Each category is packed with ideas and flavors, ensuring you'll never get bored with your lunches again. From creamy salads to zesty bowls, there's a no-heat option for every mood and craving. So, are you ready to explore the delicious diversity of cold meal prep? Let's dive in!
We're not just talking about throwing some sad lettuce in a container. We are going full-on flavor town here. Each category is designed to be versatile, easy to prepare, and most importantly, delicious. This is about making your lunch break the highlight of your day, not just something you have to get through.
Category | Description |
|---|---|
Chickpea & Avocado | Creamy, healthy, and satisfying |
Chicken Salad | Classic with a no-heat twist |
Pasta Salad | Hearty and flavorful |
Grain Bowls | Nutrient-packed and versatile |
Tacos (Cold!) | Fun and customizable |
Salads and Bowls: The Foundation of No-Heat Meal Prep
First up, we have our salads and bowls. These are the workhorses of the no-heat meal prep world. They are super versatile. You can mix and match ingredients to create endless flavor combinations. We're not talking about boring lettuce and tomato salads here. Think vibrant colors, interesting textures, and bold flavors. Grain bowls, for example, are a great way to pack in nutrients and keep you full until your next meal.
And don’t forget about the power of a good dressing! It’s the key to bringing all the flavors together and making your salad or bowl truly shine. Whether you prefer a creamy avocado dressing or a zesty vinaigrette, experiment and find what you love. The possibilities are truly endless.
Beyond the Basics: Unique No-Heat Ideas
Now, let's get a little more adventurous. We are moving beyond the usual salads and bowls. Have you ever thought about cold tacos? They are surprisingly delicious and a great way to add some fun to your lunch. Or how about mason jar salads? They are perfect for meal prepping ahead of time and look incredibly appealing, too. And don't even get me started on the possibilities of cold noodles – they're a game-changer!
We'll also explore the world of pita pockets, which are super customizable and perfect for packing on the go. And of course, we can't forget about the power of cold proteins like deli meats, canned tuna, and hard-boiled eggs. These are your go-to options for adding a protein punch to any no-heat meal. So, get ready to expand your culinary horizons and explore the exciting world of cold meal prep!
Category | Description |
|---|---|
Mason Jar Salads | Layered for freshness |
Cold Noodles | Asian-inspired and satisfying |
Pita Pockets | Easy to customize |
Cold Proteins | Quick and convenient |
Sandwiches & Wraps | Classic, but with a twist |
Chickpea and Avocado Creations
Chickpea and Avocado Creations
The Power Duo
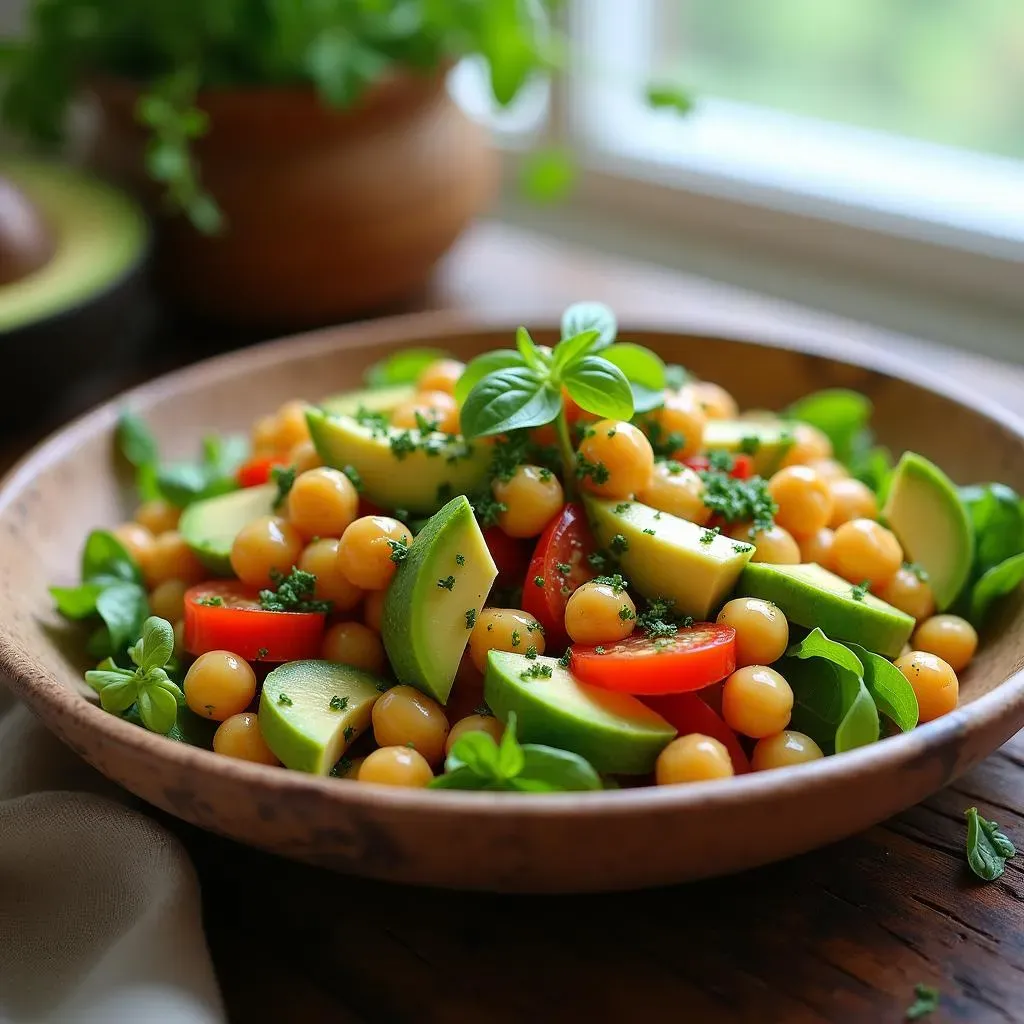
let's talk about chickpea and avocado, a match made in culinary heaven. These two aren't just tasty, they are also nutritional powerhouses that will keep you feeling full and satisfied. Chickpeas bring the protein and fiber, while avocados provide healthy fats and creamy texture. Together, they create a base for some truly amazing no-heat meals. I mean, who needs a microwave when you have this dynamic duo on your side?
Think beyond just mashing them together, although that's a great start. We are talking about creating vibrant salads, zesty wraps, and satisfying sandwiches that make your taste buds sing. The beauty of this combination is its simplicity and versatility. You can add in a variety of flavors, spices, and other ingredients to create something completely unique and tailored to your liking. It's like a blank canvas for your culinary creativity.
Ingredient | Benefit |
|---|---|
Chickpeas | Protein, fiber, and complex carbohydrates |
Avocado | Healthy fats, creamy texture, and vitamins |
Recipe Ideas and Inspiration
Ready to get some ideas? Let's start with a simple chickpea and avocado salad. Mash the chickpeas slightly, dice up some avocado, add in some red onion, cucumber, and a squeeze of lemon juice, and you have got a quick and easy lunch option that is both healthy and delicious. You can also add in other veggies like bell peppers or tomatoes for extra flavor and crunch.
Another idea? How about a chickpea and avocado wrap? Use a whole wheat tortilla, spread on some hummus, add your mashed chickpeas and avocado, some spinach, and maybe a sprinkle of feta cheese, and then wrap it all up. It's a quick, convenient, and incredibly satisfying meal. Or, you can use this mixture as a sandwich filling. The possibilities are endless. Don't be afraid to experiment with different spices and herbs to find your favorite combinations. The world is your chickpea and avocado oyster!
Chicken Salad Sensations
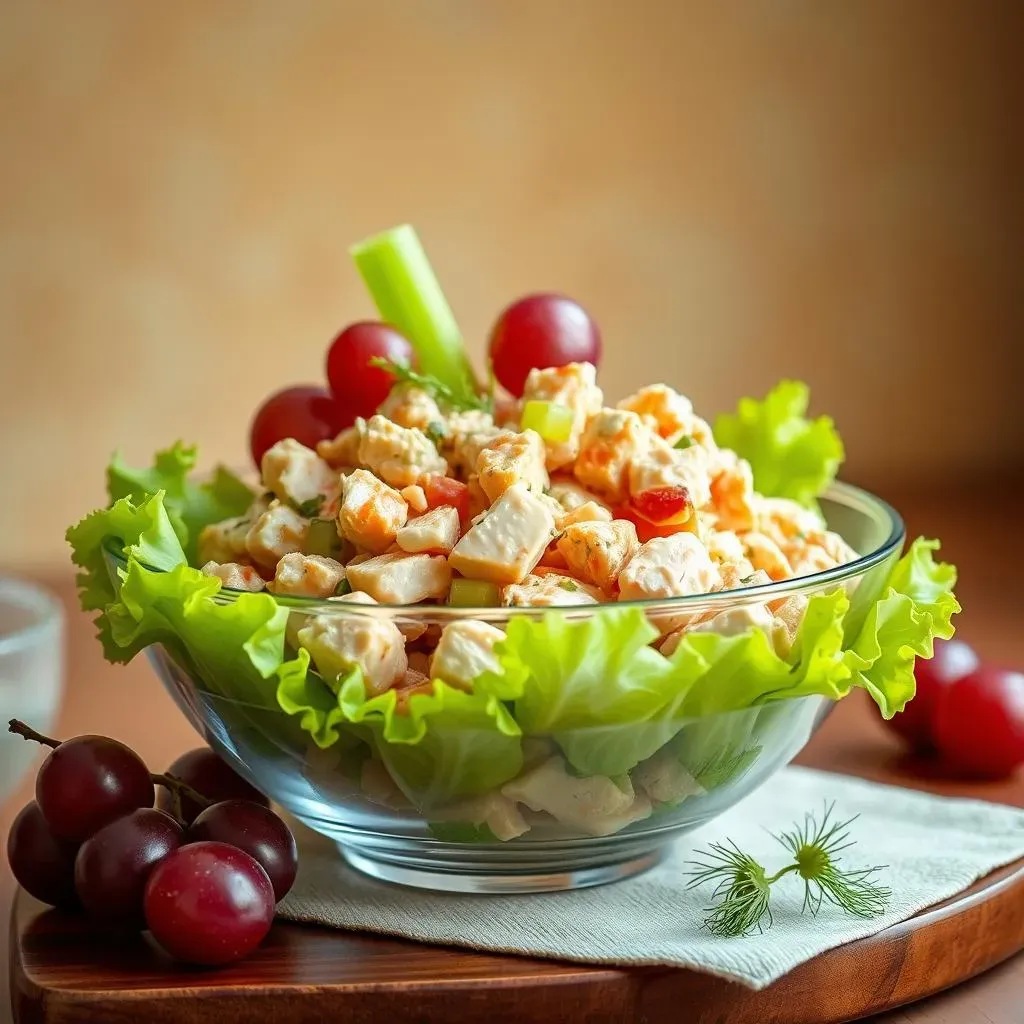
Chicken Salad Sensations
Beyond the Basic Mayo
let's talk chicken salad. It's a classic for a reason, right? But we're not going for that boring, mayo-drenched stuff that you find in the deli case. We're elevating it, giving it some personality, and making it a no-heat lunch superstar. The beauty of chicken salad is that it's incredibly versatile. You can play around with different flavors, textures, and ingredients to create something that's uniquely your own. Think beyond just the basic chicken and mayonnaise, and let your imagination run wild!
I'm talking about adding in some crunch with celery or apples, a little sweetness with grapes or dried cranberries, and a burst of flavor with herbs like dill or tarragon. You can even swap out the mayo for Greek yogurt for a lighter, tangier option. The key is to experiment and find the combinations that you love. It's all about creating a chicken salad that's not only delicious but also exciting and satisfying. So, let's ditch the boring and embrace the bold!
Ingredient | Flavor Profile |
|---|---|
Celery | Crunchy, fresh |
Grapes | Sweet, juicy |
Dill | Herbal, slightly tangy |
Greek Yogurt | Tangy, creamy |
Creative Twists and Serving Ideas
Now, let's get into some creative serving ideas. Forget the sad sandwich on white bread. We're going for something a little more exciting. How about serving your chicken salad on top of a bed of crisp lettuce? You can make a delicious and healthy chicken salad lettuce wrap. Or, you can stuff it into a bell pepper for a colorful and fun presentation. You can even use it as a filling for mini pita pockets or crackers for a quick snack or lunch.
And don't be afraid to get creative with your flavor combinations. Add in some curry powder for a spicy kick, or some chopped pecans for added crunch and nutty flavor. You can even throw in some roasted red peppers for a smoky sweetness. The possibilities are endless! The point is to have fun with it and create a chicken salad that you look forward to eating. So, ditch the boring and embrace the bold!
Pasta Salad Adventures
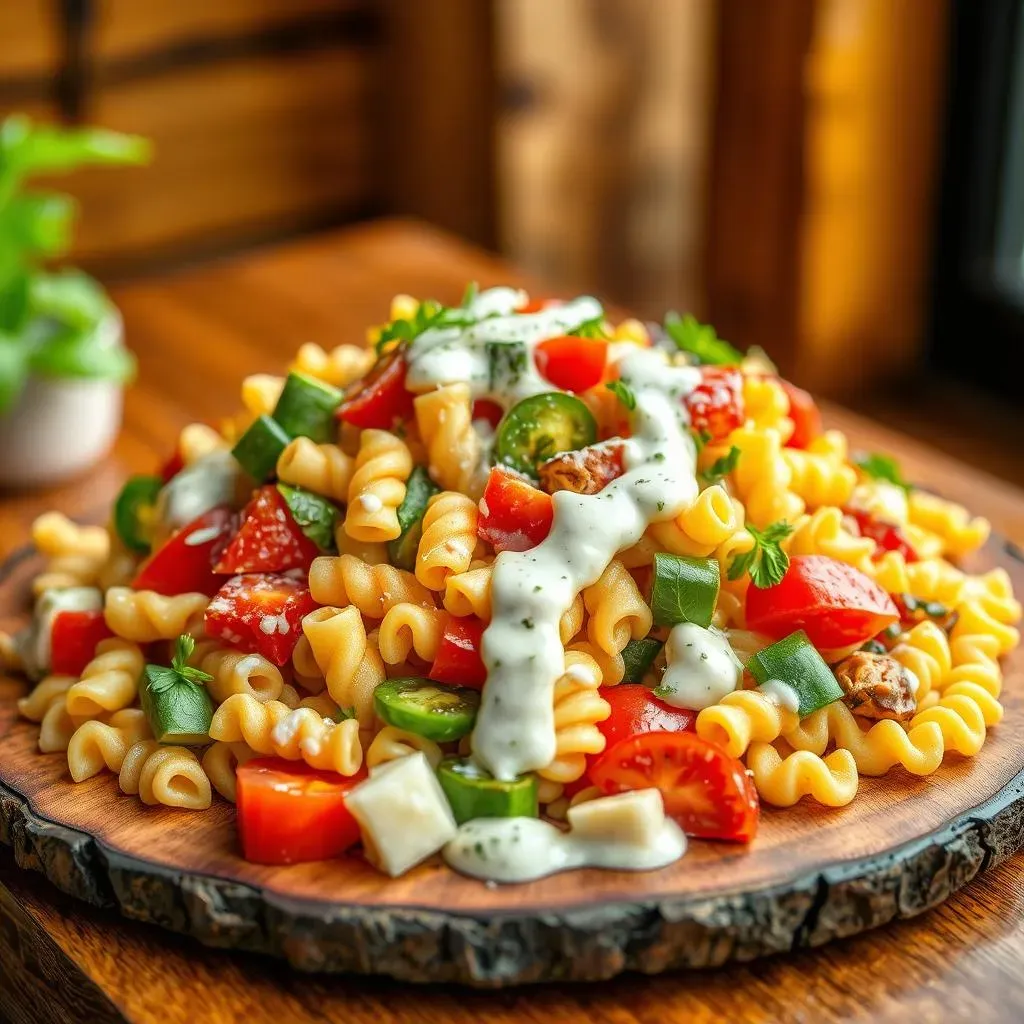
Pasta Salad Adventures
Beyond the Basics of Pasta Salad
so pasta salad might seem like a simple dish, but trust me, it's a blank canvas for flavor and texture! It's way more than just noodles and dressing. We're going on a "Pasta Salad Adventures" and we are going to explore how to make pasta salad that’s actually exciting and satisfying. The key is to think about all the elements – the type of pasta, the veggies, the protein, and most importantly, the dressing. It's all about creating a balance of flavors and textures that will make your taste buds happy.
I know, I know, you might be thinking, "Pasta salad? Really?" But hear me out. We're not talking about the bland, soggy stuff you might find at a potluck. We're talking about vibrant, flavorful, and exciting pasta salads that are perfect for a no-heat lunch. It's about experimenting with different combinations and finding what works for you. So, are you ready to take your pasta salad game to the next level? Let's dive in!
Pasta Type | Texture & Flavor |
|---|---|
Rotini | Twisty, great for catching dressing |
Farfalle (Bow Ties) | Fun shape, holds up well |
Penne | Tube-shaped, good for chunky sauces |
Orzo | Small, rice-like, good for light salads |
Tips and Tricks for the Perfect Pasta Salad
First things first, let's talk about the pasta itself. Don't just grab the first box you see. The type of pasta you choose can really make a difference in the final result. Think about shapes that will hold the dressing and other ingredients well. Rotini, farfalle, and penne are all great options. And make sure you cook your pasta al dente. This means it should be firm to the bite, not mushy. Nobody likes a soggy pasta salad!
And then there's the dressing. Don't be afraid to get creative here. A simple vinaigrette is always a great choice, but you can also experiment with creamy dressings or even pesto. The key is to make sure the dressing is flavorful and that it coats the pasta well. And don't forget to add in some fresh herbs. They can really elevate the flavor of your pasta salad. And most important, let it sit for a bit before eating. This gives the flavors time to marry. You can even make it the night before. Your future self will thank you!
Grain Bowl Goodness
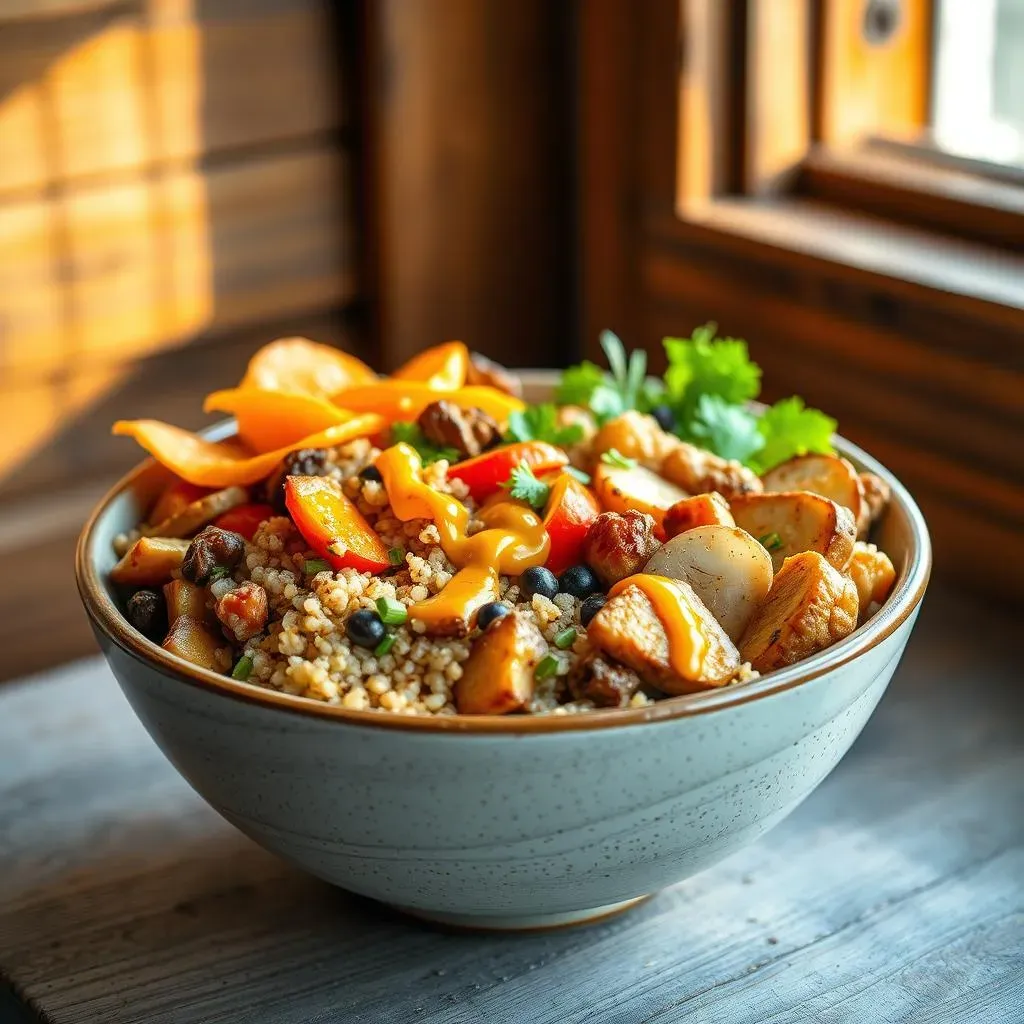
Grain Bowl Goodness
The Foundation of Flavor
so we've talked salads, pasta, and chicken, but let's get into something that's both hearty and healthy: grain bowls! I'm telling you, these are a game-changer for no-heat meal prep. They are like a blank canvas where you can layer up flavors, textures, and nutrients. Think of them as a super-charged salad, where the grains provide a hearty base and the other ingredients add all the excitement. It's not just about throwing some rice in a bowl; it's about creating a symphony of deliciousness.
The beauty of grain bowls is that they are incredibly versatile. You can use a variety of grains, from quinoa and brown rice to farro and barley. You can add in roasted or fresh veggies, lean proteins, and flavorful dressings. It's all about creating a bowl that's both satisfying and nourishing. Plus, grain bowls are a great way to use up leftover ingredients, reducing food waste and saving you time and money. It's a win-win!
Grain | Texture | Flavor |
|---|---|---|
Quinoa | Light, fluffy | Nutty |
Brown Rice | Chewy | Mild, earthy |
Farro | Hearty, chewy | Nutty, slightly sweet |
Layering for Success
So, how do you build the perfect grain bowl? It's all about layering. Start with your grain of choice as the base. Then, add in your veggies. You can go for roasted veggies for a warm, smoky flavor, or fresh veggies for a crisp, vibrant taste. Next, add in your protein. Grilled chicken, chickpeas, or tofu are all great options. And don't forget the healthy fats, like avocado or nuts.
And most important, the dressing. A good dressing can bring all the flavors together and make your grain bowl sing. You can go for a simple vinaigrette, a creamy tahini dressing, or a zesty lemon dressing. The key is to experiment and find what you love. And don't be afraid to get creative with your toppings. A sprinkle of sesame seeds, some fresh herbs, or a dollop of hummus can really elevate your bowl. It's all about making it your own.
Grain Bowl Inspiration
Let's get some ideas flowing. How about a Mediterranean grain bowl with quinoa, roasted vegetables, chickpeas, feta cheese, and a lemon-herb dressing? Or maybe a Southwest-inspired grain bowl with brown rice, black beans, corn, salsa, avocado, and a spicy chipotle dressing? You can also do a Asian-inspired one with farro, edamame, shredded carrots, cucumbers, and a sesame-ginger dressing. The possibilities are truly endless.
Remember, the key to a great grain bowl is to have fun with it and don't be afraid to experiment with different combinations. It's all about creating a bowl that's both satisfying and nourishing. So, ditch the boring lunches and embrace the deliciousness of grain bowls!
Taco Time (Cold Style!)
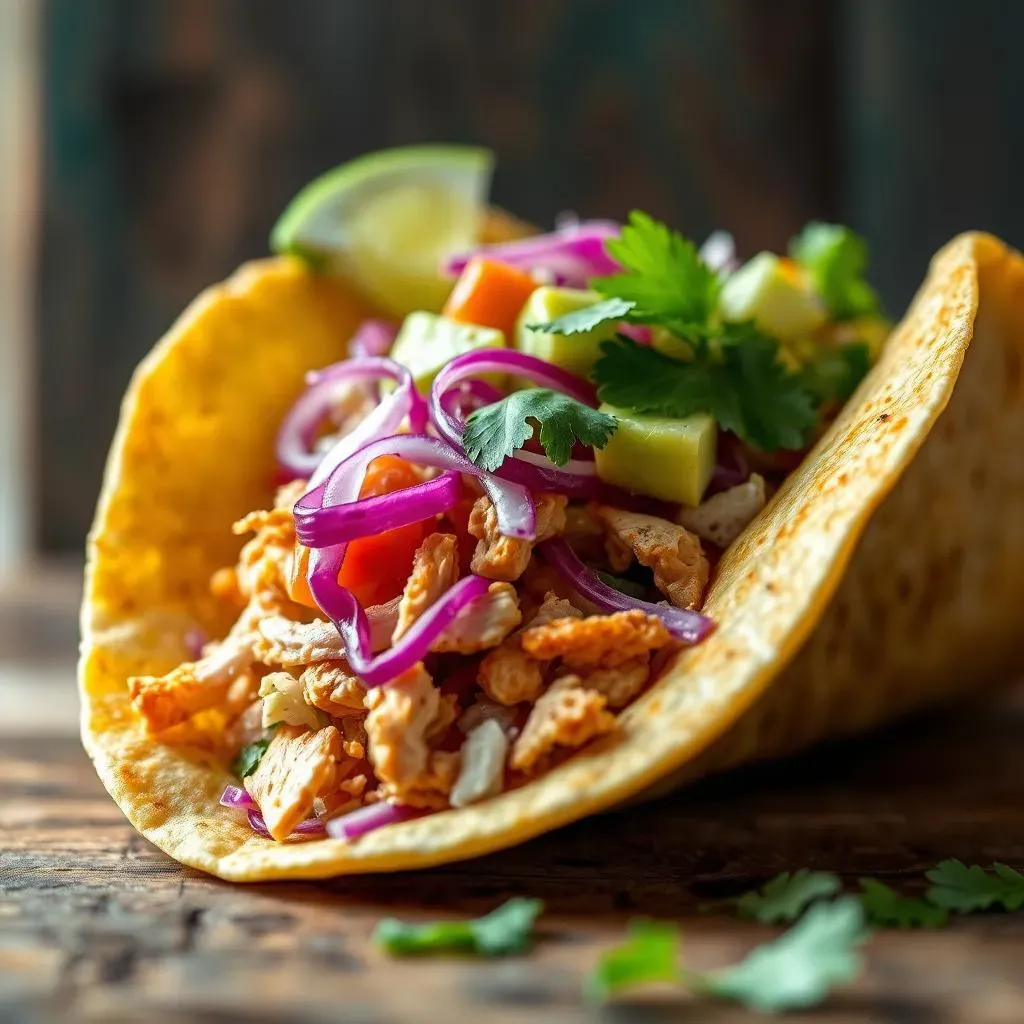
Taco Time (Cold Style!)
Tacos? Cold? Absolutely!
so you might be thinking, "Cold tacos? Is that even a thing?" And I'm here to tell you, YES! It's not just a thing, it's a delicious, fun, and totally customizable way to enjoy your lunch without a microwave. Forget everything you think you know about tacos. We are ditching the warm tortillas and the melty cheese. Instead, we are embracing the crispness of fresh ingredients and the versatility of cold fillings. It's like a fiesta in your lunchbox, and who doesn't want that?
The beauty of cold tacos is that they are super easy to prepare ahead of time, and you can mix and match different fillings to create your perfect taco. Think crunchy veggies, flavorful proteins, and zesty salsas. It's all about creating a balance of flavors and textures that will make your taste buds dance. So, get ready to break free from the traditional taco mold and embrace the deliciousness of cold taco time!
Taco Element | Cold-Friendly Option |
|---|---|
Tortilla | Small corn or flour tortillas |
Protein | Shredded chicken, canned tuna, black beans |
Veggies | Shredded cabbage, bell peppers, corn |
Salsa | Pico de gallo, corn salsa, or any fresh salsa |
Toppings | Avocado, cilantro, lime wedges |
Building Your Cold Taco Masterpiece
The key to a great cold taco is to use sturdy ingredients that will hold up well without getting soggy. I like to use small corn or flour tortillas. They are easier to handle and won't fall apart when you fill them. For the protein, shredded chicken, canned tuna, or black beans are all great options. Just make sure they are well-drained to prevent sogginess. And when it comes to veggies, think crunchy! Shredded cabbage, bell peppers, corn, and diced cucumbers all work great.
And of course, you can't forget the salsa! A fresh pico de gallo, a vibrant corn salsa, or any of your favorite salsas will add a burst of flavor. And for toppings, avocado, cilantro, and a squeeze of lime juice are always a good idea. The most important thing is to have fun with it and experiment with different combinations until you find your perfect taco. So, get ready to unleash your inner taco artist and create some delicious cold taco masterpieces!
Mason Jar Magic
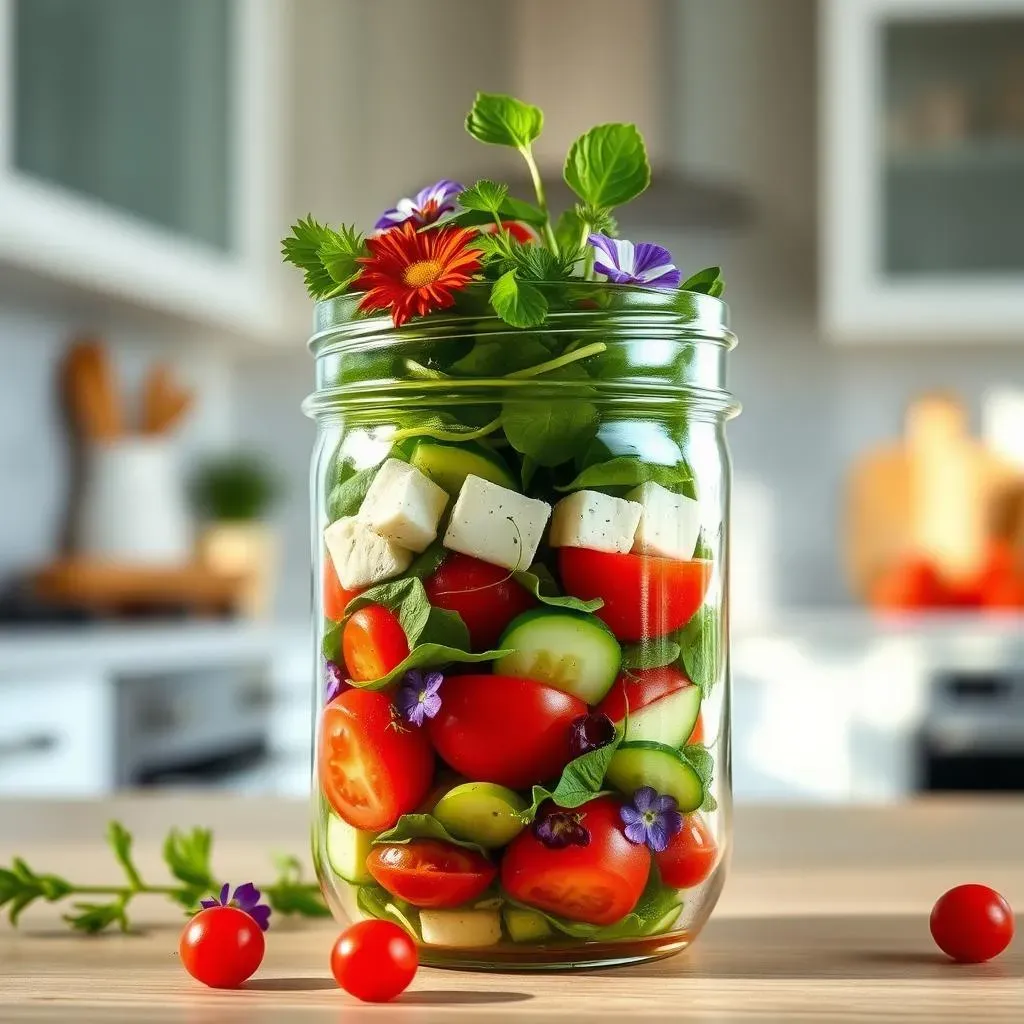
Mason Jar Magic
Layering Up for Lunchtime
so you've heard of meal prepping, right? But have you heard of the magic of the mason jar? I'm telling you, it's a total game-changer for no-heat lunches. It's not just about looking cute (although they totally do). It's about layering ingredients in a way that keeps everything fresh and delicious until you're ready to eat. Think of it as a vertical salad bar, where each layer plays a specific role in creating the perfect bite. It's like a little science experiment, but the result is something you can actually eat and enjoy!
The beauty of mason jar salads is that you can prep them ahead of time, store them in the fridge, and they won't get soggy. The dressing goes on the bottom, so it doesn't wilt your greens. Then, you layer in the heartier ingredients, like grains, beans, or chopped veggies. And finally, you top it all off with the leafy greens and any delicate toppings. When you're ready to eat, you just shake it up, and all the flavors combine perfectly. It's like a mini-meal kit, all contained in one convenient jar!
Layer | Purpose |
|---|---|
Dressing | Bottom layer to prevent sogginess |
Hearty Veggies & Grains | Durable and hold up well |
Protein | Added nutrition and flavor |
Leafy Greens | Top layer to stay crisp |
Toppings | Nuts, seeds, or cheese for extra flavor |
Tips for Mason Jar Mastery
Alright, so you're ready to dive into the world of mason jar salads, right? Here are a few tips to make sure your creations are both delicious and practical. First off, make sure your dressing is thick enough, or it might seep into the other layers. If you want to add cheese, put it in the middle, so it doesn't get soggy. And if you are adding fruit, make sure to add it on the top, to avoid the rest of the ingredients to become soggy.
Another tip is to use wide-mouth jars; they make it easier to fill and empty them. And don't overfill your jars, leave some space at the top so you can shake the salad without making a mess. And finally, don't be afraid to experiment with different flavor combinations. The possibilities are endless. Mason jar salads are all about making lunch easy, fun, and delicious, so go ahead and get creative!
Noodle Nirvana (Cold, Of Course)
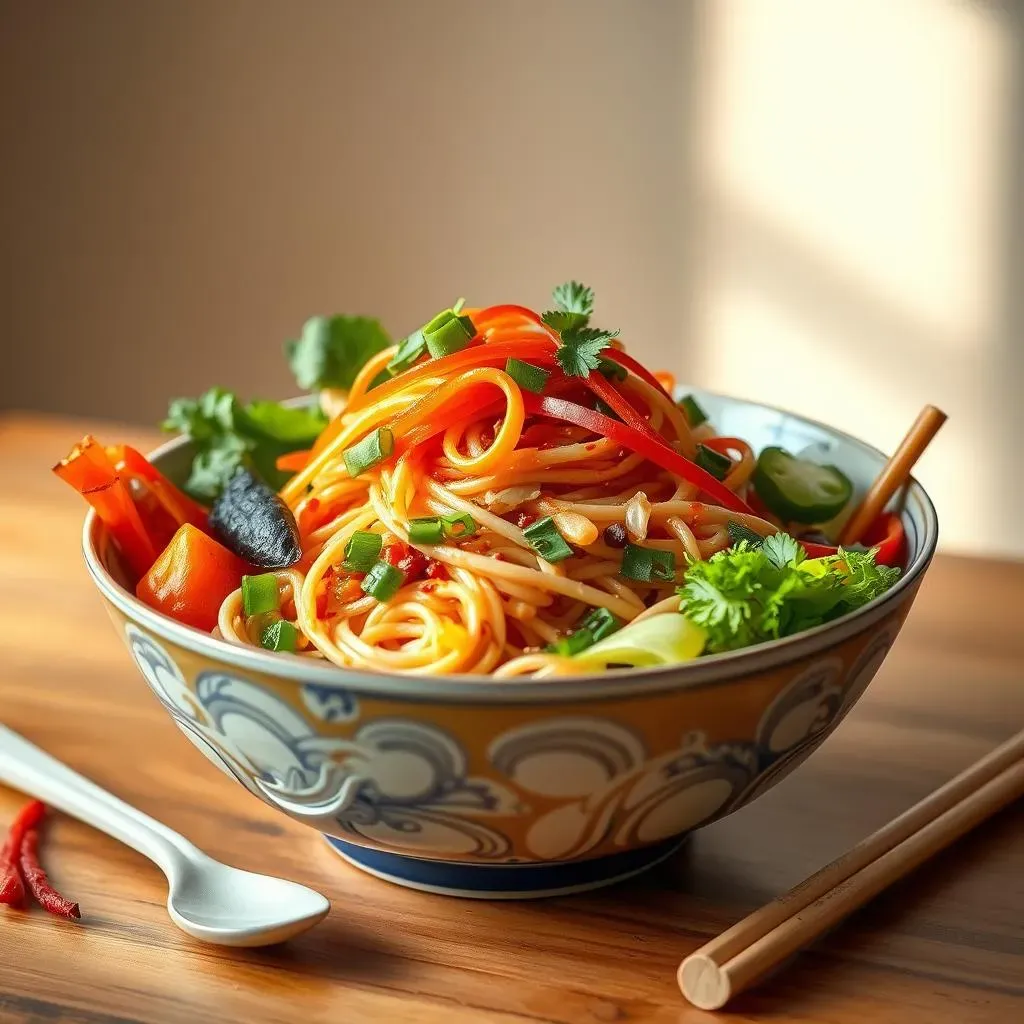
Noodle Nirvana (Cold, Of Course)
The Cool Comfort of Noodles
let's talk noodles, but not the hot, steamy kind. We're diving headfirst into the world of "Noodle Nirvana (Cold, Of Course)"! I know, it might sound a little strange at first, but trust me, cold noodles are a game-changer for no-heat lunches. They're light, refreshing, and totally customizable. It’s like a flavor explosion in every bite! Think beyond the usual pasta salad. We are talking about Asian-inspired noodles, with vibrant veggies, flavorful sauces, and a whole lot of deliciousness.
The best part about cold noodles is that they are super versatile. You can use all sorts of noodles, from soba and udon to rice noodles and even spaghetti. You can add in crunchy veggies like cucumbers, carrots, and bell peppers. And of course, you can't forget the sauce! A tangy sesame dressing, a spicy peanut sauce, or even a light soy-ginger dressing can transform your noodles into a culinary masterpiece. So, are you ready to embrace the cool comfort of cold noodles? Let's get started!
Noodle Type | Texture | Best For |
|---|---|---|
Soba | Thin, nutty | Asian-style dishes |
Udon | Thick, chewy | Hearty salads |
Rice Noodles | Light, delicate | Summer rolls |
Spaghetti | Classic, versatile | Italian-inspired cold salads |
Flavor Combinations and Serving Ideas
So, you've got your noodles, now what? Let's talk flavor combinations! For a classic Asian-inspired dish, try soba noodles with shredded carrots, cucumbers, edamame, and a sesame-ginger dressing. You can add in some grilled chicken or tofu for added protein. Or, if you're feeling adventurous, try rice noodles with shrimp, mango, avocado, and a spicy peanut sauce. The possibilities are endless!
And when it comes to serving, you can keep it simple and serve your noodles in a bowl, or you can get a little creative. Try packing your noodles in a mason jar, layering them with your veggies and sauce. Or you can use them as a filling for lettuce wraps or spring rolls. The key is to have fun with it and experiment with different flavors and textures. So, ditch the boring lunches and embrace the deliciousness of cold noodles!
Pita Pocket Perfection
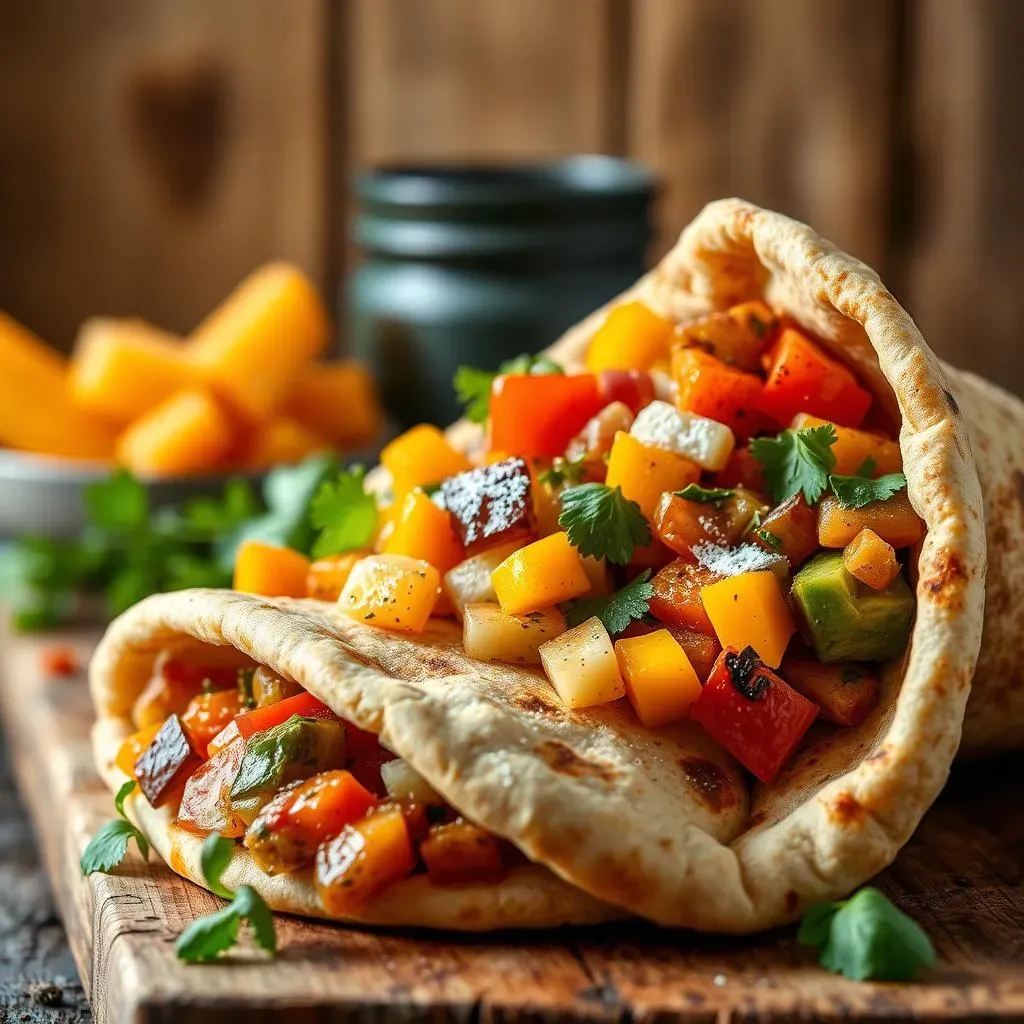
Pita Pocket Perfection
Pocket-Sized Perfection
Alright, let's talk about pita pockets. They're like the unsung heroes of the lunch world, right? They're basically edible pouches just waiting to be filled with deliciousness. I'm telling you, "Pita Pocket Perfection" is a real thing, and it's about to change your lunch game. These little pockets of goodness are super versatile, easy to prepare, and perfect for no-heat meal prep. It’s like a mini-sandwich, but way more exciting. Think of them as a blank canvas where you can create your own culinary masterpiece.
The best part is that you can fill them with just about anything. From classic Mediterranean flavors to zesty Asian-inspired fillings, the possibilities are truly endless. And they're perfect for packing on the go. No more soggy sandwiches or messy spills. Pita pockets are like little edible containers that keep everything neat and tidy. So, are you ready to explore the world of pita pocket perfection? Let's dive in!
Pita Filling | Flavor Profile |
|---|---|
Hummus & Veggies | Mediterranean, fresh |
Chicken Salad | Classic, creamy |
Tuna Salad | Savory, satisfying |
Falafel & Tahini | Hearty, Middle Eastern |
Black Beans & Corn | Southwestern, zesty |
Tips for the Perfect Pocket
So, how do you create the perfect pita pocket? First off, make sure your pita bread is fresh and soft. You don't want it to be too dry or it will crack when you try to fill it. You can lightly toast the pita for a little bit of extra texture, but don't overdo it or it will become too hard. And when it comes to fillings, don't overfill your pita pockets. It can become very messy. It's better to have a few smaller pockets than one giant one that's overflowing.
Also, when you are adding wet ingredients like hummus, make sure you spread it on the bottom of the pita, so the other ingredients don't get soggy. And if you're adding lettuce or other leafy greens, try to add them right before you eat it so they stay nice and crisp. The key is to have fun with it and experiment with different flavor combinations. Pita pockets are all about creating a meal that's both delicious and convenient, so get creative and enjoy the process!
Cold Protein Power
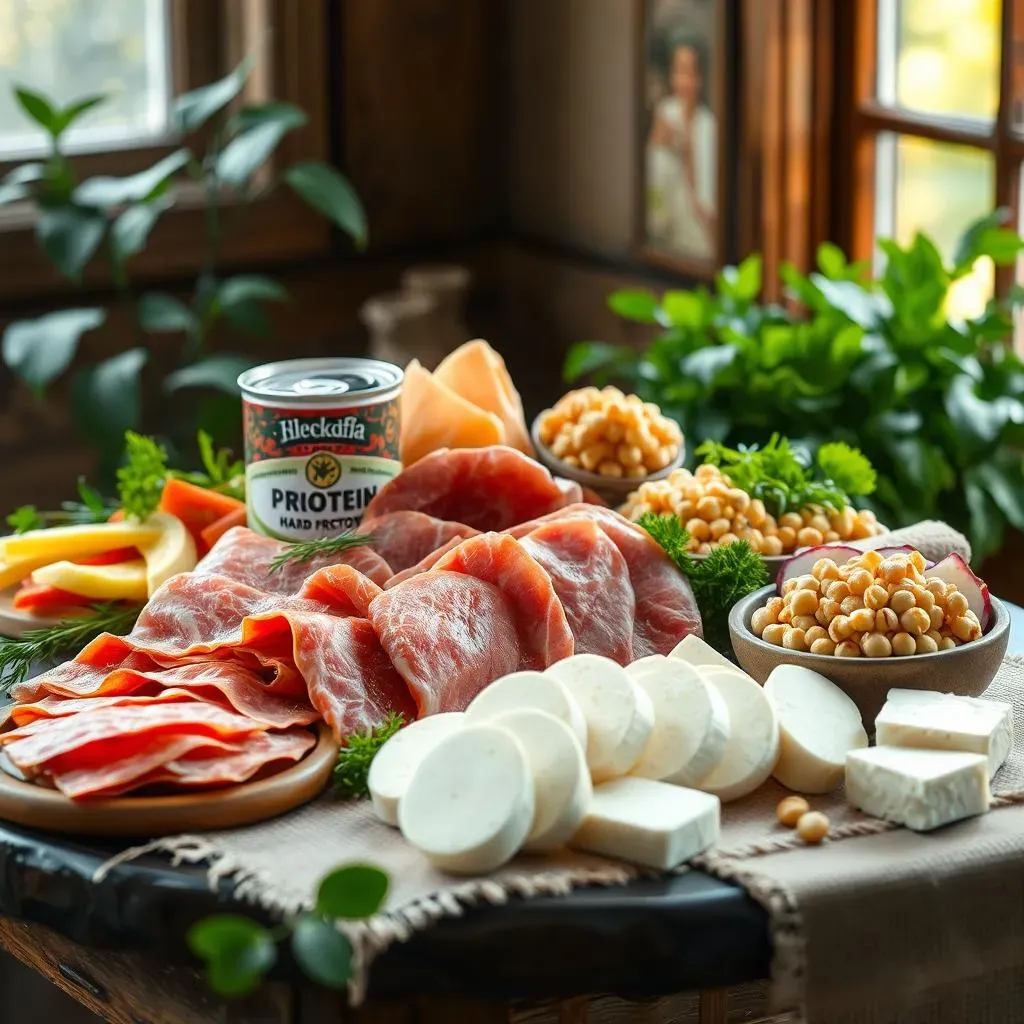
Cold Protein Power
The Mighty Muscle Builders
Alright, so we've covered a lot of ground with veggies, grains, and noodles, but let's not forget the star of the show: protein! And when we're talking no-heat meals, cold protein is where it's at. These are your go-to options for adding that muscle-building power to your lunch. I'm not just talking about boring chicken breasts here. We're diving into the world of convenient, flavorful, and satisfying cold proteins that will keep you energized and full until your next meal. Think of them as your secret weapon for a successful no-microwave lunch.
The beauty of cold proteins is that they are super easy to incorporate into just about any meal. They don't require any cooking or heating, which makes them perfect for those days when you're short on time. They can be tossed into salads, added to grain bowls, stuffed into pita pockets, or enjoyed on their own as a quick snack. And the best part is that they come in a variety of flavors and textures, so you'll never get bored. So, are you ready to unlock the power of cold protein? Let's get started!
Convenient & Delicious Options
So, what are some of the best cold protein options? Well, let's start with the classics: deli meats. Turkey, ham, and roast beef are all great choices. Just make sure you choose lean options and avoid those that are high in sodium. Canned tuna is another excellent source of protein, and it's super convenient to keep on hand. You can mix it with a little mayo or Greek yogurt, add some celery and onion, and you've got a quick and easy tuna salad. And don't forget about hard-boiled eggs! They're a protein powerhouse and super easy to prep ahead of time.
And if you're looking for some plant-based options, chickpeas, black beans, and lentils are all great choices. They're packed with protein and fiber, and they're super versatile. You can add them to salads, grain bowls, or even mash them up and use them as a spread. And don't forget about tofu! It's a great source of protein and it can be flavored in so many different ways. So, as you can see, there are plenty of delicious cold protein options to choose from. It's all about finding what you love and incorporating it into your no-heat meals.
Cold Protein Source | Prep Time | Best Use |
|---|---|---|
Deli Meats | None | Sandwiches, wraps, salads |
Canned Tuna | None | Salads, pita pockets, snacks |
Hard-Boiled Eggs | 5-10 minutes | Salads, snacks, grain bowls |
Chickpeas | None (canned) | Salads, bowls, wraps |
Tofu | Minimal | Salads, bowls, stir-fries |
Sandwich & Wrap Savvy: Preventing Sogginess
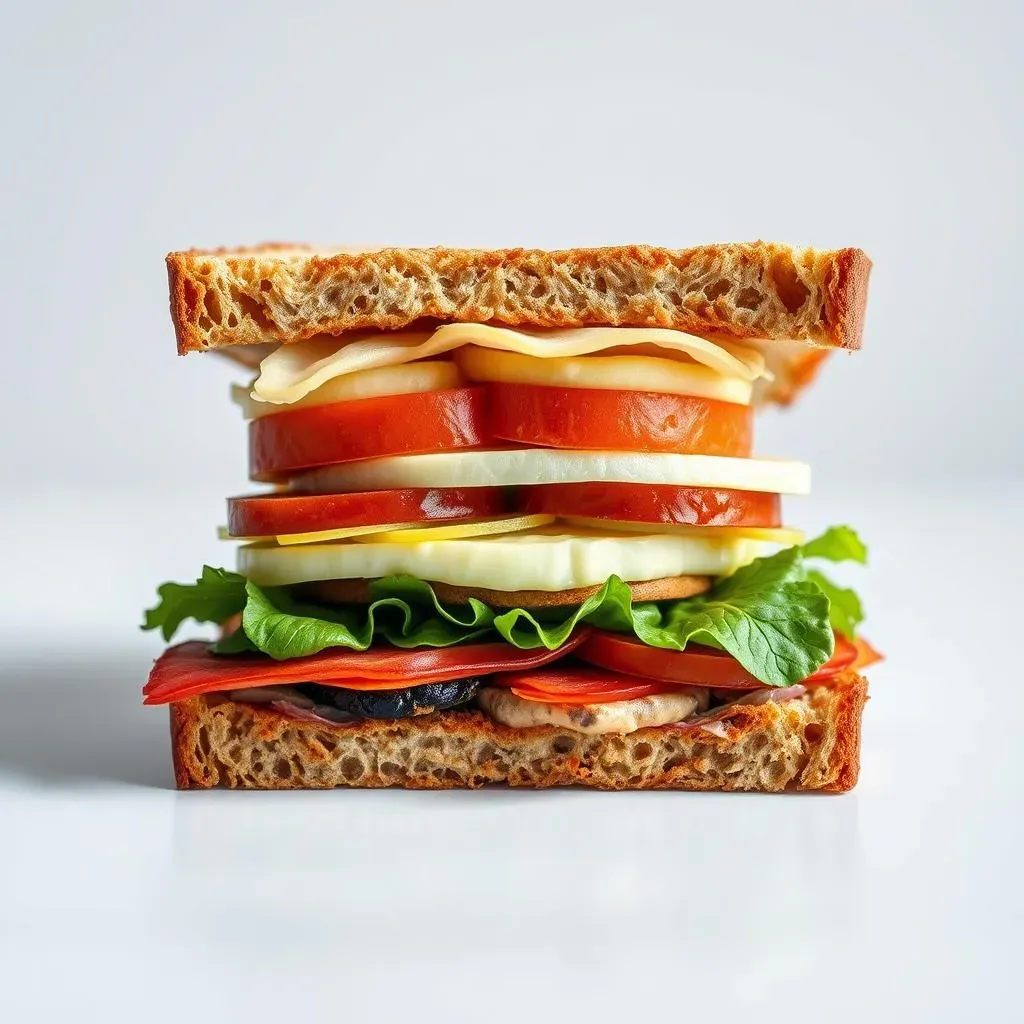
Sandwich & Wrap Savvy: Preventing Sogginess
The Soggy Sandwich Struggle
so let's be real, nobody likes a soggy sandwich or a mushy wrap. It's like the ultimate lunch letdown, right? You've taken the time to make something delicious, and by the time you're ready to eat it, it's a sad, soggy mess. I've been there, and it's not a fun place to be. The culprit? Moisture! It's the enemy of a perfectly prepped sandwich or wrap, and it can turn your lunch from hero to zero in a matter of hours. But fear not, my fellow meal preppers, because I'm here to share some tips and tricks to keep your sandwiches and wraps crisp, fresh, and totally delicious.
The key is to understand what causes sogginess and how to prevent it. It's all about creating a barrier between the wet ingredients and the bread or tortilla. Think of your sandwich or wrap as a little ecosystem, and you need to carefully manage the environment to keep everything in balance. It's not rocket science, but it does require a little planning and some clever techniques. So, get ready to say goodbye to soggy lunches and hello to sandwich and wrap perfection!
The Moisture Barrier Method
So, how do you build a moisture barrier? It's all about strategic layering. Start with a layer of something that will repel moisture, like a thin spread of butter, mayonnaise, or even a pesto. This creates a protective layer that prevents the wet ingredients from directly touching the bread or tortilla. It's like putting on a raincoat before you go out in the rain. And make sure you use a good quality bread or tortilla that's not too thin or flimsy. A sturdy bread or tortilla will hold up better and won't get soggy as easily.
Next, add your fillings, making sure you are layering ingredients that are not too wet next to the bread. Lettuce can be a big culprit when it comes to sogginess. You can try wrapping your lettuce in a paper towel to absorb excess moisture, or you can just add it right before you're ready to eat. And if you're adding tomatoes, make sure you slice them right before you're ready to assemble your sandwich or wrap, so they don't release too much moisture. It's all about thinking ahead and being strategic about how you layer your ingredients.
Layering Strategy | Purpose |
|---|---|
Moisture Barrier | Prevents direct contact of wet ingredients with bread |
Sturdy Bread/Tortilla | Provides a solid foundation |
Strategic Fillings | Avoids direct contact of wet ingredients with bread |
Separate Wet Ingredients | Keep them from making the bread soggy |
Packing & Storage Savvy
Alright, so you've built your sandwich or wrap like a pro, now let's talk about packing and storage. The way you store your sandwich or wrap can make a big difference in preventing sogginess. First off, avoid wrapping it in plastic wrap directly. The plastic can trap moisture and make your sandwich or wrap soggy. Instead, use parchment paper or wax paper to wrap your sandwich or wrap. This allows it to breathe and prevents moisture from building up. You can then place the wrapped sandwich or wrap in a reusable container for added protection.
And when it comes to storage, make sure you store your sandwich or wrap in the fridge. The cold temperature will help to slow down the moisture transfer and keep your sandwich or wrap fresh and crisp. And if you know you're not going to eat it for a few hours, you can try packing it with an ice pack to keep it extra cold. It's all about taking those extra steps to make sure your sandwich or wrap stays delicious and not soggy. So, get ready to pack your lunch like a pro and enjoy your perfectly prepped sandwich or wrap!
Ready to Explore? Let's Get Prepping!
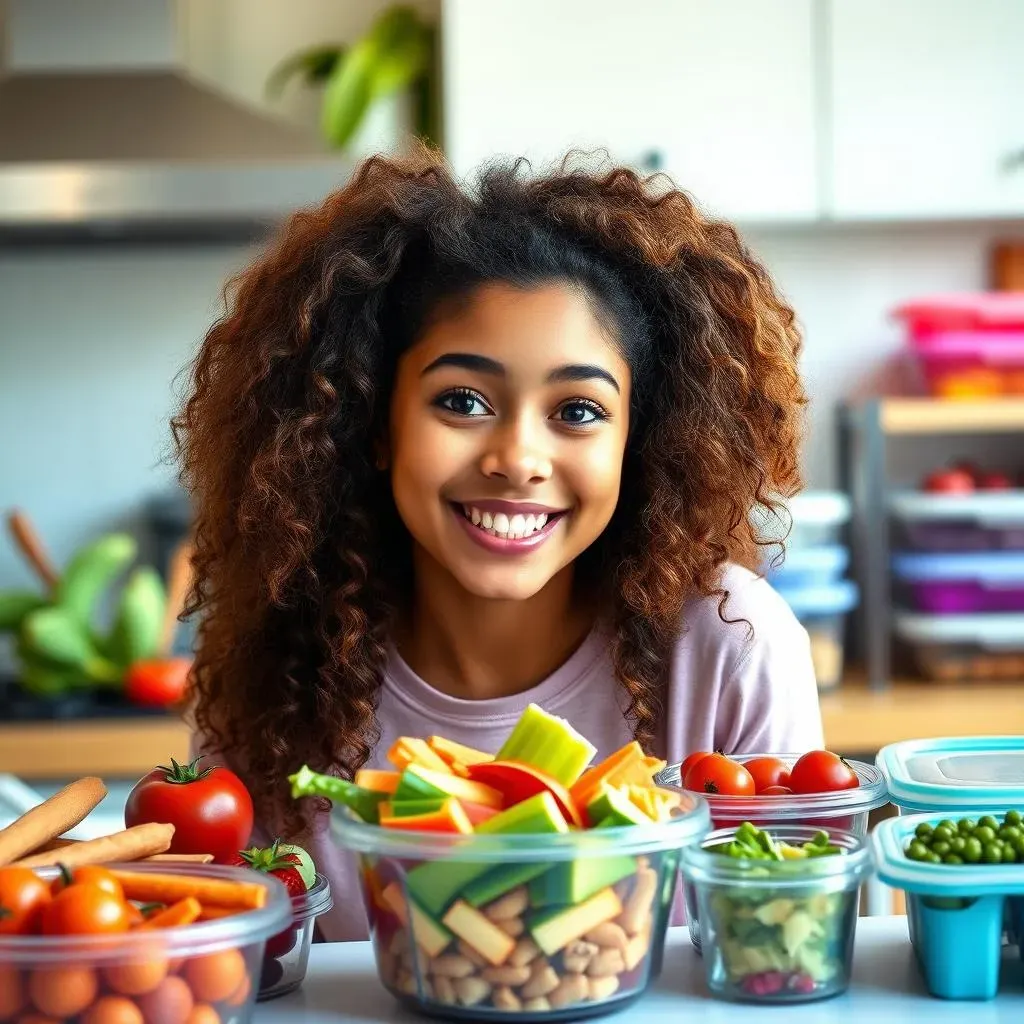
Ready to Explore? Let's Get Prepping!
Your No-Heat Meal Prep Journey Begins Now
So, you've made it this far, and I hope you’re as excited as I am about the possibilities of no-microwave meal prep! We've explored everything from the importance of refrigeration to the delicious diversity of cold noodles and mason jar salads. Now, it's time to put all that knowledge into action and start creating your own amazing no-heat lunches. It's not about being a gourmet chef; it's about being smart, creative, and a little bit adventurous in the kitchen.
Remember, this is a journey, not a destination. Don't be afraid to experiment, try new things, and find what works best for you. Meal prep is all about making your life easier and more delicious, not adding extra stress. So, ditch the microwave woes and embrace the joy of no-heat meal prep! You've got this, and I'm here to cheer you on every step of the way. Now, let's get prepping and transform your lunch game!
Tools & Resources for Success
To help you on your no-heat meal prep journey, let's talk about some essential tools and resources. First off, invest in some good quality food storage containers. Glass containers are great because they're reusable, easy to clean, and they won't leach any chemicals into your food. Insulated lunch bags and ice packs are also a must for keeping your meals cold and safe. And don't forget about a good set of knives and cutting boards. They'll make your meal prep process a whole lot easier and more efficient.
And when it comes to resources, there are plenty of websites, cookbooks, and apps that can help you plan your meals, generate grocery lists, and find new recipes. Don't be afraid to explore and find what works best for you. And most important, don’t be afraid to ask for help from friends, family, or online communities. Sharing your meal prep ideas and experiences with others can make the whole process more fun and inspiring. So, go ahead and gather your tools, explore your resources, and get ready to conquer the world of no-heat meal prep!
Tool/Resource | Why It's Helpful |
|---|---|
Glass Containers | Reusable, easy to clean, safe |
Insulated Lunch Bag & Ice Packs | Keeps food cold and safe |
Good Knives & Cutting Boards | Makes meal prep easier and more efficient |
Meal Planning Apps/Websites | Helps generate grocery lists and find recipes |
Online Communities | Provides inspiration and support |
"The secret of getting ahead is getting started." - Mark Twain
Wrapping Up Your No-Microwave Meal Prep Journey
So, there you have it – a whole world of delicious, no-microwave meal prep ideas! From vibrant salads to satisfying bowls and wraps, you can enjoy a variety of tasty lunches without ever needing to heat them up. Remember, the key is keeping your food cold and fresh, and with a little planning, you can create meals that are both exciting and safe. Don't be afraid to experiment with different ingredients and combinations to find your favorites. And if you're looking to take your meal prep skills to the next level, check out the Workweek Lunch Meal Prep Program. Now, go forth and conquer your lunch hour with these fantastic no-heat options. Happy prepping!